Affordable Lightweight Faux Wood Planks For A New Ceiling Design Look On A Budget
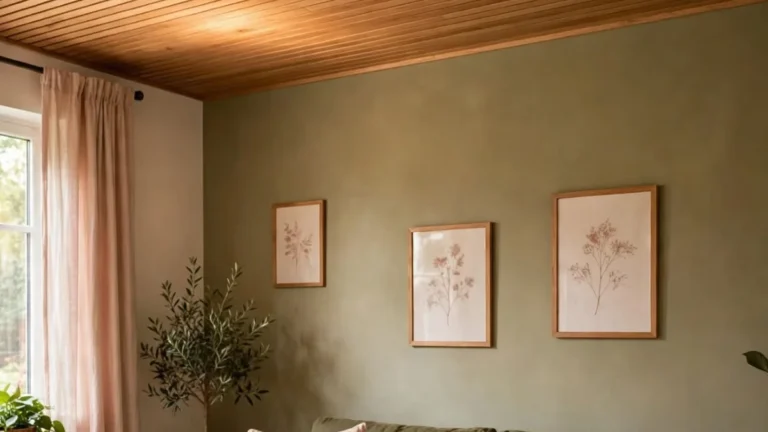
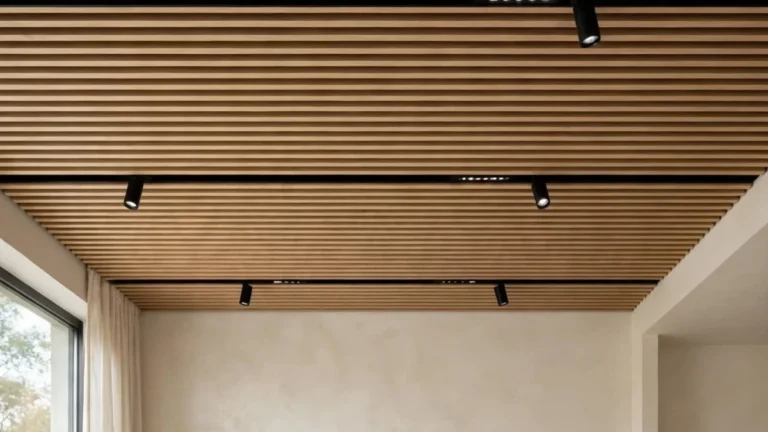
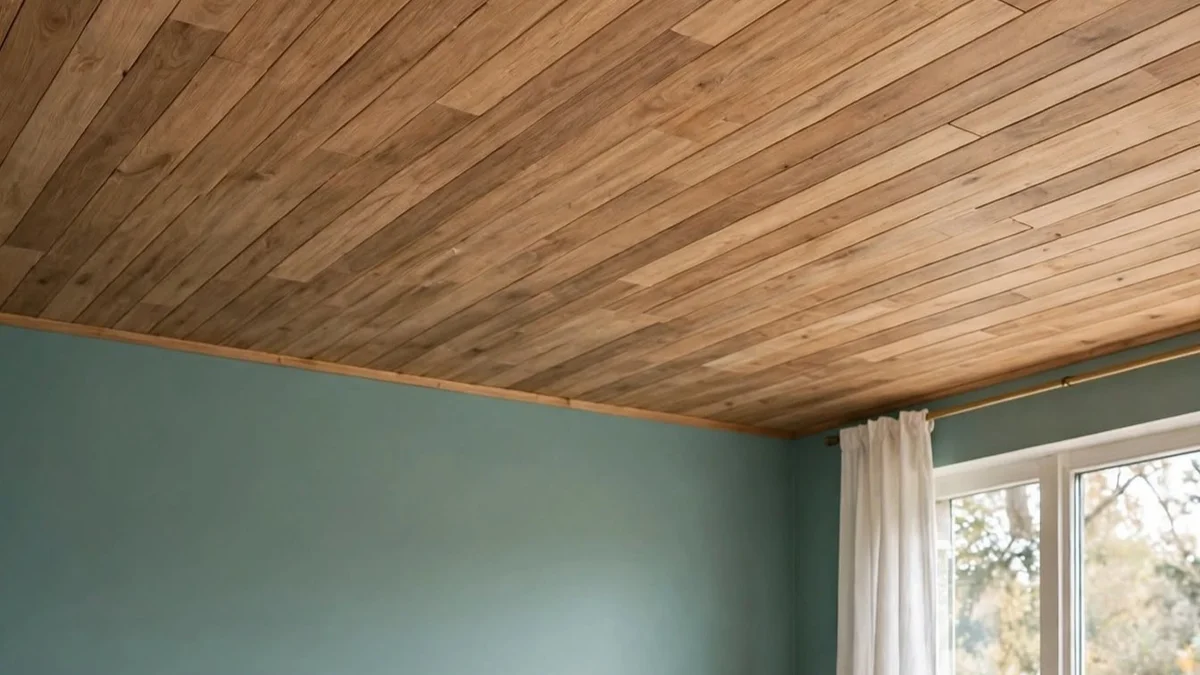
Get a new ceiling look on a budget with affordable lightweight faux wood planks in light oak, walnut, or creamy white.
Install them with peel-and-stick or simple clips in straight, even lines with no carpenter needed. Keep planks slim, matte, and paired with warm flush lighting for a clean finish.
Faux wood planks add warm texture and architectural depth without the weight or cost of real wood. Light tones bounce light and make ceilings feel taller, airier, and custom. It instantly makes your room feel expensive, cozy, and Pinterest-perfect for way less.
Lightweight Faux Wood Plank Ceiling That Looks Real
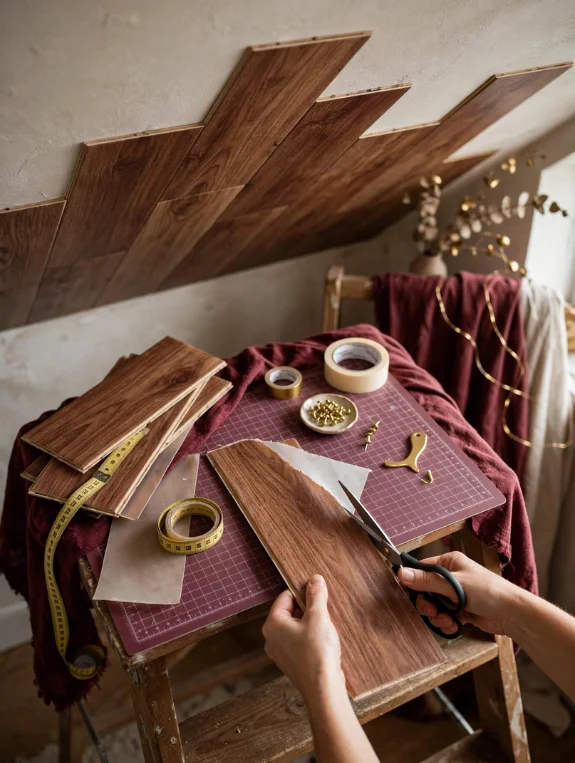
Real Timber Ceiling Planks Are Heavy, and Heavy Means Structural Work
A solid pine plank ceiling in a standard living room can weigh 800 to 1,200 pounds. That means your ceiling joists need to be assessed, you need at least two people for the installation, and the wood has to acclimate to the room before it goes up. The project becomes a major undertaking before a single plank touches the ceiling.
Lightweight Faux Planks Sidestep Every One of Those Problems and Still Look Stunning
A faux wood plank ceiling for the same room weighs under 80 pounds. It installs with construction adhesive and a handful of finish nails, one person can do most of it, and no structural assessment is needed. It’s designed to give you the wood ceiling look without the wood ceiling complications.
The Faux Wood Plank Types Available Right Now

Your Lightweight Faux Ceiling Plank Options
- PVC or vinyl wood-look planks: the most affordable at $1.50 to $3 per square foot, waterproof, and good for kitchens and bathrooms, with a realistic wood grain print
- Foam-core composite planks: medium weight at $2.50 to $4.50 per square foot, with better depth and texture than vinyl and still easy for one person to install
- Real wood veneer on a lightweight substrate: actual wood surface on a thin backing, $4 to $8 per square foot, and the most realistic up close
- Peel-and-stick wood panel sheets: the most flexible at $35 to $60 per pack, installable over any smooth or lightly textured surface, and renter-friendly
- Embossed polymer planks: 3D wood texture molded into polymer, $2 to $4 per square foot, very durable, and good at holding stain and paint
The Option That Gives the Most Realistic Wood Look for the Money
Real wood veneer on a lightweight substrate gives the most convincing result. The surface is actual timber, so the grain and natural variation are genuine, and it reads as real wood from across the room and up close. The cost is modest, and a confident DIYer can install it over a weekend.
The Surface Preparation That Makes Faux Planks Stay Up

Why the Ceiling Surface Condition Matters More Than the Adhesive Brand
Even the strongest adhesive will fail within months on a dirty, dusty, or waxy ceiling. The same plank on a properly prepared surface can last for years. The prep takes about 20 minutes and decides whether the installation succeeds or fails.
The Cleaning Method That Works for Every Ceiling Type
Wipe the whole ceiling with a solution of warm water and TSP cleaner, then let it dry completely. TSP is a heavy-duty degreaser that removes the invisible film of cooking oils, dust, and paint wax that builds up on every ceiling over time. That film is what stops adhesive from working the way it should.
When to Prime Before Installing Faux Planks
On a newly painted ceiling, apply a coat of bonding primer first, since fresh paint can contain additives that resist adhesive. On a ceiling more than two years old, cleaning is usually enough. Primer is the bridge between surface and adhesive when cleaning alone won’t do it.
The Layout Planning That Prevents Mistakes

Always Start From the Room Center, Not From a Wall
Starting from a wall leaves you with full-width planks on one side and a narrow cut piece on the other. Starting from the center gives you equal cuts on both sides, so the ceiling looks professionally planned. This 10-minute measuring step prevents the most common faux plank ceiling regret.
The Direction Planks Should Run for Each Room Shape
In a long narrow room, run planks across the width to make the room feel wider. In a square room, run them toward the main window to connect the eye to the light. In a low-ceilinged room, run them perpendicular to the longest wall, which creates the most visual movement and sense of height.
The Stagger Pattern That Makes Faux Planks Look Real
Offset each row by about one third from the previous one, the same pattern used when installing real wood flooring. The stagger keeps aligned seams from revealing the product as manufactured, for exactly the reason real carpenters use it.
Cutting and Installing Without Professional Tools
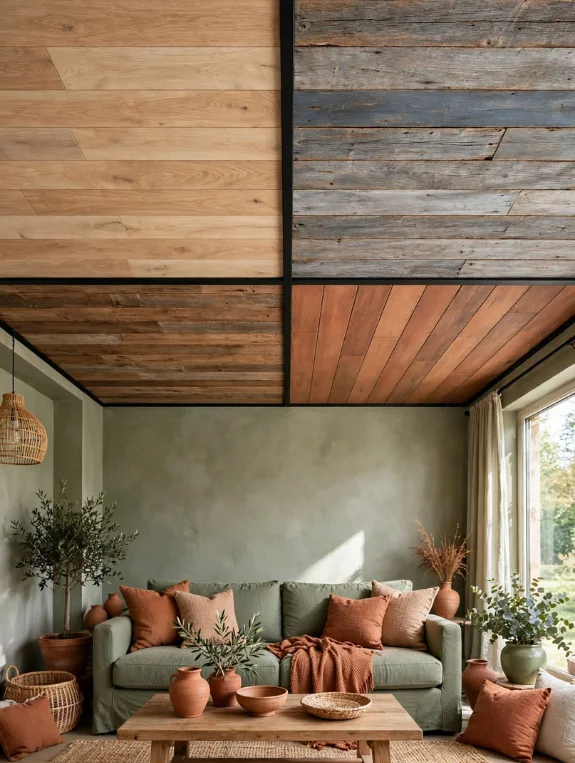
The One Tool That Makes Cutting Faux Planks Easy
A sharp utility knife and a metal straightedge are usually all you need, since most lightweight faux planks score and snap cleanly. No saw required. Each cut takes about 30 seconds and leaves a clean, straight edge, using a tool most homeowners already own.
The Adhesive Application Pattern That Prevents Bubbling
Apply construction adhesive in an S-pattern across the back of each plank rather than as a solid layer. The S-pattern lets the plank flex slightly as the adhesive cures without trapping air pockets, so adhesion stays flat and even across the whole surface.
The Temporary Support Method While Adhesive Cures
After pressing each plank in place and holding it against the ceiling for 60 seconds, apply strips of painter’s tape every 12 inches along it right away. Leave the tape up for 24 hours, then peel it off cleanly the next day. It keeps every plank perfectly positioned while the adhesive reaches full strength.
The Finishing Touches That Make Faux Planks Read as Real

Painting or Staining Faux Planks for a Custom Wood Tone
Most faux planks come in a factory finish, and a gel stain applied over it adds depth, warmth, and individual variation. Each plank takes the stain slightly differently, and that variation creates the organic look of real wood. A $15 can of gel stain turns a manufactured product into something that reads as natural.
The Wall-Edge Detail That Makes or Breaks the Installation
A thin strip of matching material or a simple painted wood trim piece at every wall edge closes the installation and makes it look intentional. Without it, the ceiling looks like planks that were applied to a surface. With it, the ceiling reads as a designed feature.
Warm LED Strips Between Rows That Turn Good Into Breathtaking
Tuck a warm LED strip between two plank rows every 24 to 36 inches. The light spills down along the plank faces, and the ceiling glows from within the wood pattern. It takes a nice faux wood ceiling and makes it genuinely extraordinary.
Room-Specific Recommendations for Faux Wood Plank Ceilings

Living Room: The Full Ceiling Treatment That Changes Everything
Use PVC or foam-core planks in warm medium oak, run perpendicular to the longest wall, with full ceiling coverage and a warm LED strip between two central rows. The result feels completely different from every other room in the neighborhood, and it costs $280 to $420 total.
Kitchen: The Waterproof Option That Handles the Environment
Choose PVC vinyl planks specifically. They’re waterproof and grease-resistant, and they’re the only faux plank type appropriate above a cooking surface. The ceiling looks warm and designed, and it wipes clean after cooking.
Bedroom: The Peel-and-Stick Version Above the Bed Only
Apply peel-and-stick panels over the bed zone only, rather than across the whole ceiling. The partial application creates a warm overhead canopy above where you sleep, and it’s the most intimate and achievable bedroom ceiling treatment for renters and budget-conscious homeowners alike.
The Full Cost Breakdown
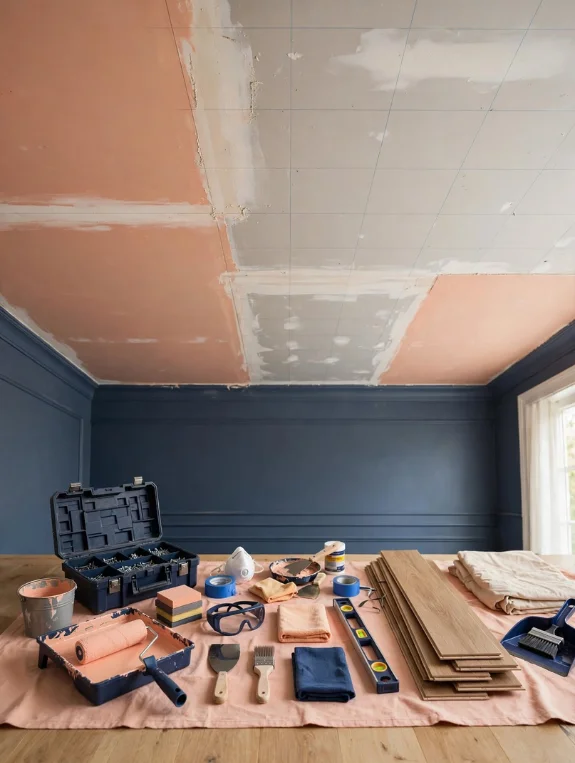
The Under $150 Bedroom Ceiling Upgrade
Peel-and-stick wood panels for a 10 by 10 foot bedroom ceiling run about $95, gel stain $12, and edge trim $18, for a total of $125. That’s a bedroom ceiling that reads as a deliberate warm wood design feature.
The Under $350 Living Room Ceiling Transformation
Foam-core composite planks for a 14 by 16 living room run about $210, construction adhesive $22, gel stain $15, edge trim $28, and a warm LED strip $40, for a total of $315. It’s a designer ceiling at a budget price.
Where to Find the Best Faux Wood Plank Products
Amazon carries peel-and-stick panels and real wood veneer options, Home Depot has PVC planks and installation supplies, Lowe’s stocks foam-core composite options, and WoodUpp offers premium pre-finished real veneer panel systems.
Conclusion
The warm wood plank ceiling that felt out of reach is really one weekend away, as long as you choose the lightweight version. Real veneer on a lightweight substrate gives the most authentic look, foam-core composite offers the best balance of cost and quality, and peel-and-stick suits rentals and partial ceiling applications.
Match the approach to your room, your budget, and your confidence level. Before you commit to full coverage, measure your ceiling today and order samples. Most suppliers send small ones, so you can compare three wood tones against your wall color in your own lighting, which makes every other decision easy.