Breathtaking Aesthetic Backlit Ceiling Design Modern Inspiration With Seamless Warm Glow Perimeter Lighting
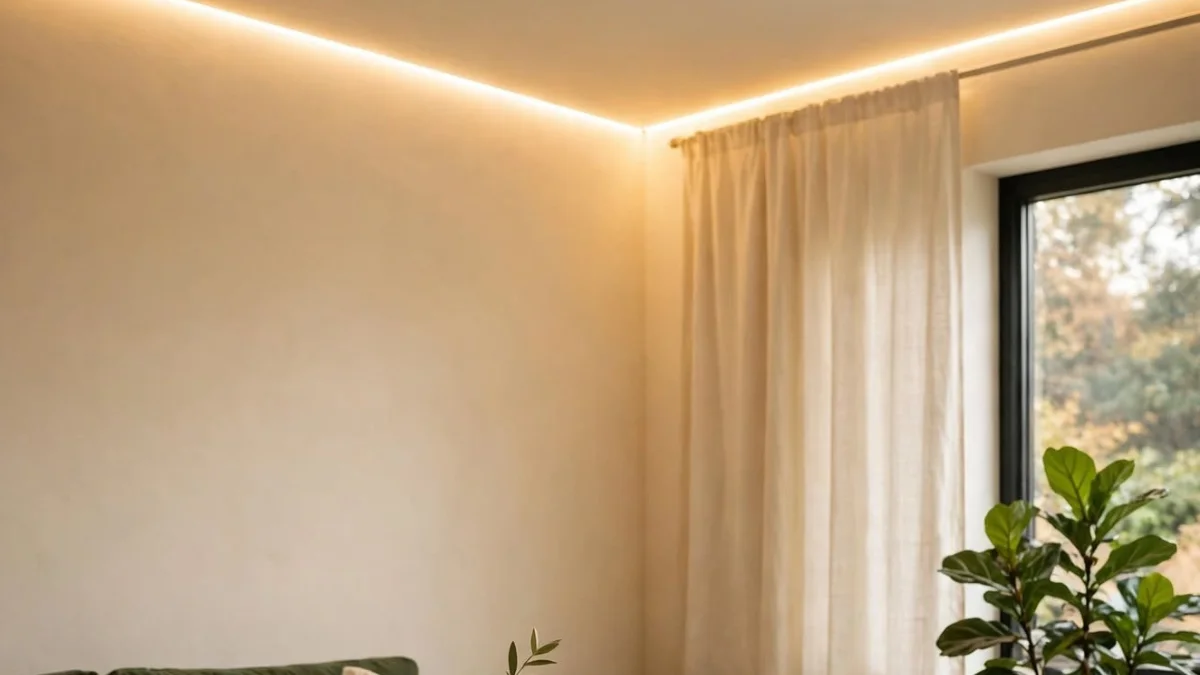
A breathtaking backlit ceiling, use a floating perimeter tray with hidden warm LED strips around the full edge. Keep the center ceiling creamy white and matte with no bulky fixtures, just a seamless glow. Pair it with warm neutral walls and minimal decor for a calm, modern luxury look.
Seamless perimeter glow washes the ceiling with soft light and makes rooms feel taller, airier, and architecturally designed. No harsh shadows or glare, just a warm, dreamy halo that feels expensive and cozy. It instantly turns your ceiling into a stunning, Pinterest-worthy centerpiece everyone loves.
That Ceiling That Appears to Float on a Warm Glow of Light Is Not Magic
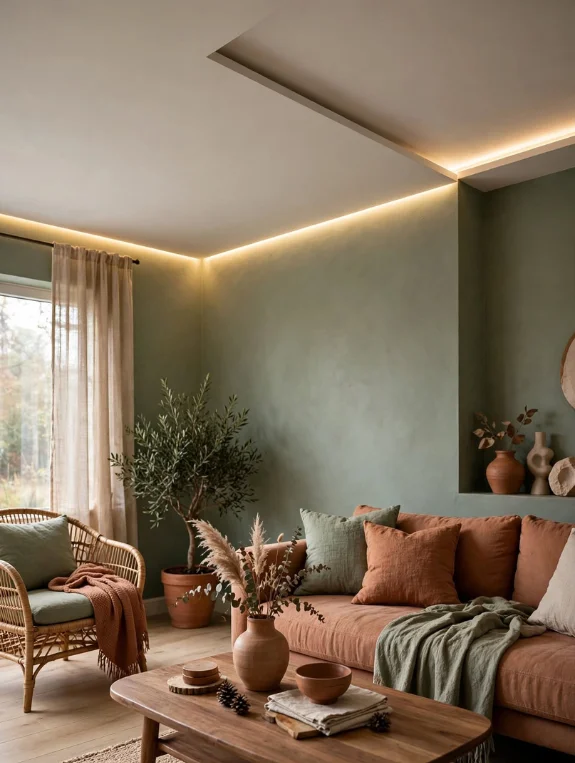
Every Time You Have Seen a Ceiling That Seems to Float Above the Room, You Were Looking at the Same Simple System
A ledge, called a cove, is built around the perimeter of the ceiling, and a warm LED strip is tucked inside it pointing upward. The light spills onto the ceiling above, and the ceiling appears to hover over the room on a warm glow.
It looks like architectural magic, but it’s a construction idea that has been around for decades and costs far less than most people expect.
This Post Is the Complete Blueprint: The Cove Profile, the LED Specification, and the Wall and Ceiling Colors That Make It Breathtaking
By the end, you’ll know exactly how the floating ceiling effect is built and what you need to create it at home. No mystery, just a clear, practical system.
How the Floating Ceiling Effect Actually Works
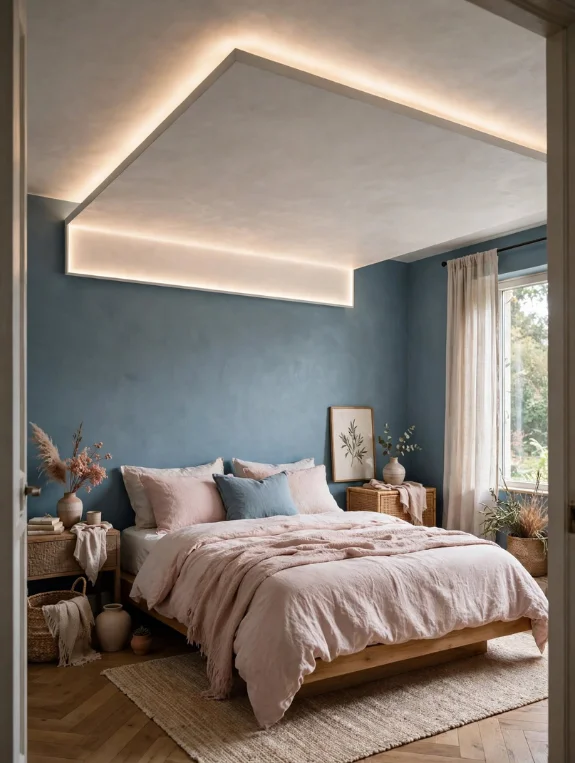
The Floating Ceiling System Explained Simply
- Step 1: A cove ledge is built at the ceiling perimeter, typically 6 to 12 inches below the actual ceiling.
- Step 2: The cove creates a hidden channel between the ledge and the original ceiling above it.
- Step 3: A warm LED strip is installed inside the channel, pointing upward toward the ceiling.
- Step 4: The light spills onto the ceiling above, so the ceiling glows from its edges.
- Step 5: From below, the cove ledge hides the light source, so only the glow is visible.
- Step 6: The ceiling appears to float above the room on a continuous warm ribbon of light.
The critical detail: the cove must be deep enough to hide the LED strip from any seated or standing viewing angle, which usually means 4 to 6 inches of hidden channel.
The Single Thing That Makes a Backlit Ceiling Look Breathtaking vs Just Nice
It all comes down to how seamless the glow is. If you can see individual LED points, the effect reads as cheap LED decoration. If the glow is even and unbroken, it reads as architecture.
That seamlessness comes from two things: a diffuser cover over the LED strip and a uniform matte paint finish on the ceiling. Together, they produce the breathtaking result.
The Cove Profile: Building the Hidden Channel
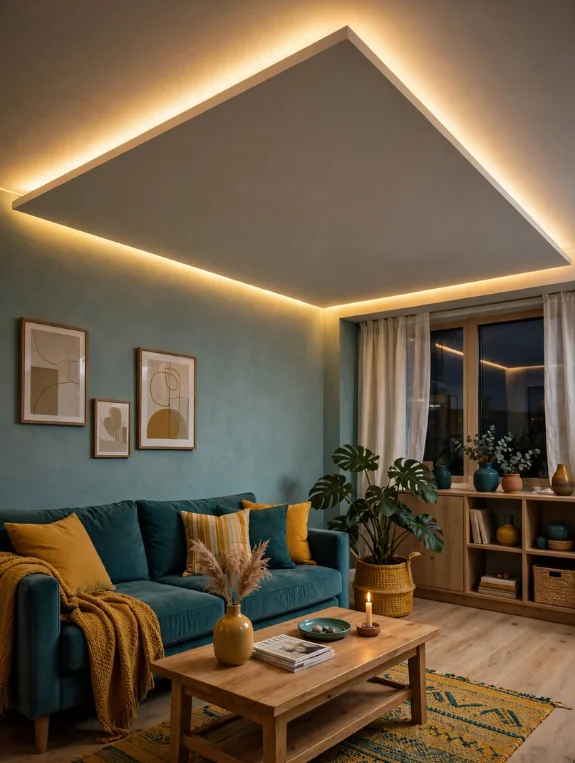
The Two Ways to Build a Ceiling Cove
The first option is a timber or MDF ledge attached to the wall below the ceiling line, essentially one horizontal shelf running the full perimeter of the room. It’s simple and the most DIY-friendly approach.
The second is a dropped drywall soffit around the ceiling perimeter, which gives a more finished look but requires framing and drywall work, and is what high-end installations typically use.
The Exact Cove Dimensions That Hide the LED and Produce the Best Glow
Cove depth, the horizontal distance from the wall to the front edge of the cove, should be at least 6 inches so the LED strip stays hidden from any standing position.
Cove height, the distance between the top of the cove ledge and the ceiling above, should be at least 4 inches, which gives the light room to spread evenly across the ceiling before exiting as a glow.
The Profile That Reads as Modern Architecture
Clean square edges with no molding profile on the cove face, and a sharp 90-degree reveal where the cove face meets the ceiling, read as contemporary design rather than traditional decorative detail.
The LED Strip Specification That Creates Seamless Glow
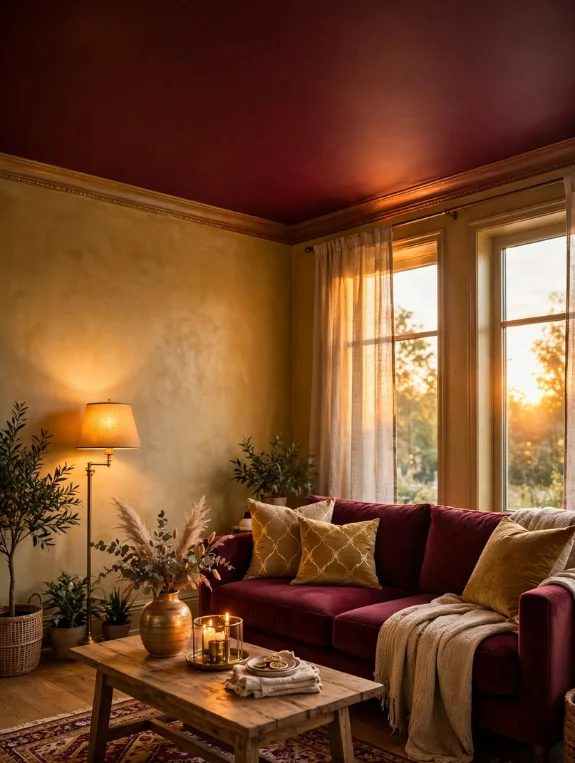
High Density LED Strip: Why the LED Count Per Meter Matters
A standard 30-LED-per-meter strip shows individual light points on the ceiling. A 60-LED strip looks more continuous, and a 120-LED strip produces the seamless glow. That density is what decides whether the ceiling effect looks cheap or breathtaking, so never go below 60 LEDs per meter for a visible ceiling cove.
The Diffuser Channel That Turns LED Points Into a Seamless Line
An aluminum LED channel with a white or frosted diffuser cover holds the strip and blurs the individual points into one continuous, even line.
Installed inside the cove and pointing upward, it costs $8 to $15 per foot and is the single most important component for getting that seamless glow.
2200K vs 2700K: The Temperature Choice That Changes the Entire Mood
2200K gives the richest, warmest amber glow, the kind that makes the ceiling look like a permanent sunset above the room.
2700K is slightly cooler but still very warm, and it’s the safer choice for rooms with furniture in both warm and cool tones. Choose 2200K if you’re going all-in on the warm ambient look.
The Ceiling and Wall Colors That Make the Glow Breathtaking
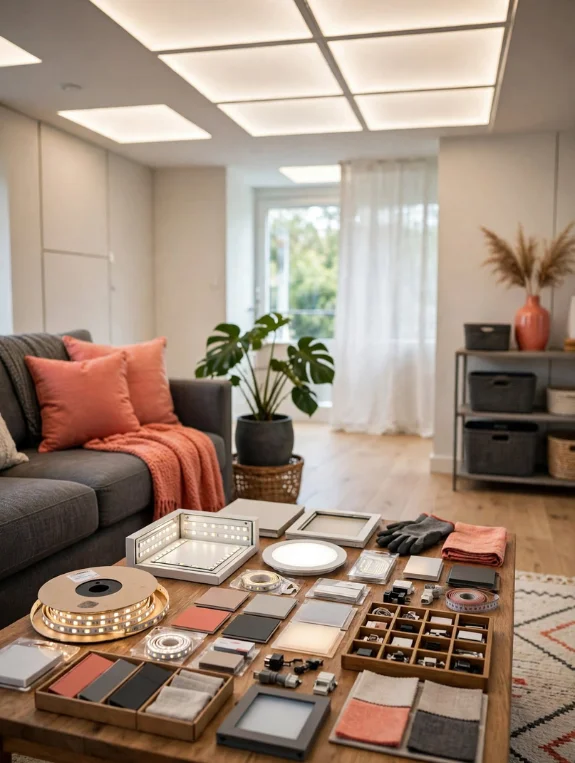
The Ceiling Color That Glows Most Beautifully Under LED Cove Lighting
A warm white with a cream or yellow undertone absorbs the warm LED light and reflects it back as golden warmth.
A cool white ceiling bounces that same light back as a slightly orange-yellow tone that reads as warm but not seamless. Warm white ceiling plus warm LED gives the most beautiful, even glow.
The Wall Color Relationship That Completes the Effect
Warm neutral walls, like cream, warm greige, or soft warm white, connect with the ceiling glow rather than contrasting against it. Dark walls can look stunning with a floating ceiling, but the LED needs to be noticeably brighter to read correctly.
The Matte Finish Non-Negotiable
Any sheen on the ceiling reflects the LED strip as a bright line instead of a diffused glow. Flat matte is the only finish that lets cove lighting read as seamless, and it’s the one paint specification with no room for compromise.
The Best Rooms for a Floating Backlit Ceiling
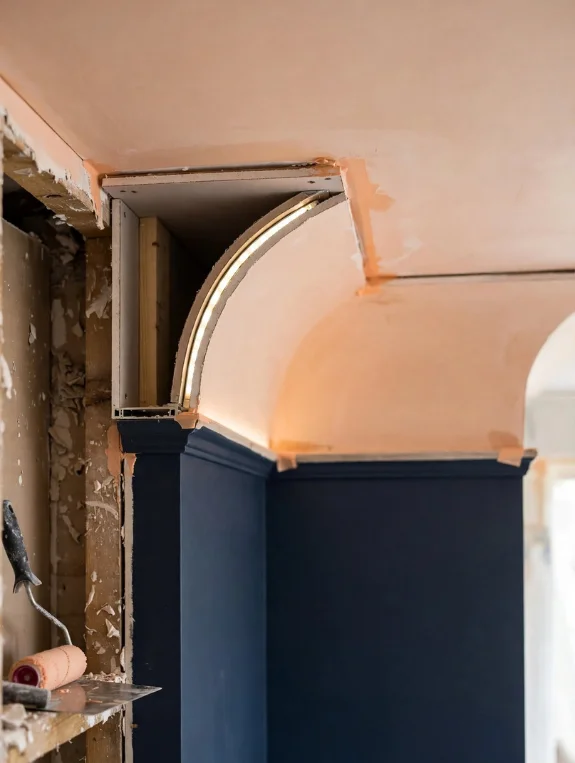
Living Room: The Full Perimeter Floating Ceiling
A cove running along all four walls makes the ceiling appear to hover above the entire gathering space, turning a standard living room into something genuinely extraordinary.
Master Bedroom: The Cove Above the Bed Wall Only
A cove on just the bed wall sends warm glow falling from above the headboard, creating what may be the most romantic and intentional detail in the house. Doing one wall instead of the full perimeter is a lower-cost entry point that still delivers a very personal impact.
Dining Room: The Floating Ceiling That Makes Every Dinner Feel Special
A cove on all four dining room walls puts a floating ceiling right above the table, so every dinner feels like a private restaurant experience. It’s the kind of dining room detail every guest mentions.
The DIY Build and Cost Breakdown
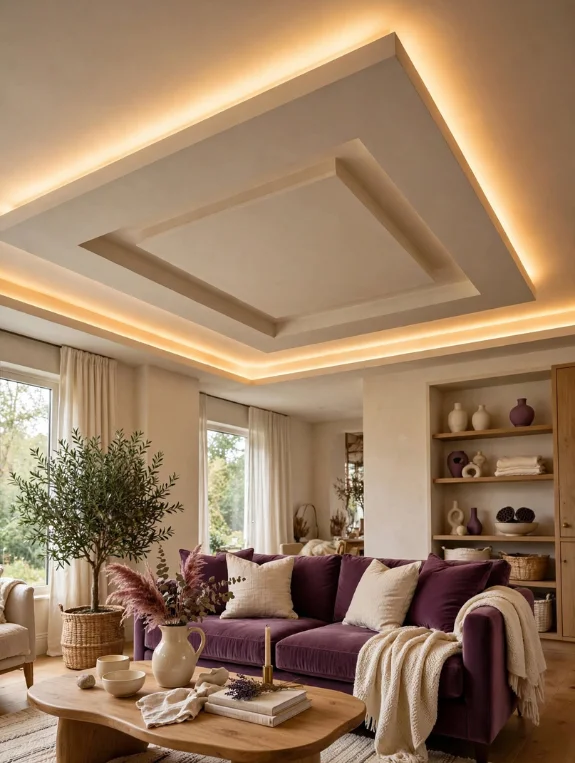
The Under $400 DIY Floating Ceiling Living Room
MDF cove ledge materials run about $85, paint for the cove and ceiling $45, high density LED strips $120, aluminum diffuser channels $95, and a smart dimmer $35, for a total of $380. That’s a floating ceiling effect that reads as a $10,000 architectural installation.
The Professional Installation Cost Context
Professional cove ceiling installation in the USA typically runs $2,000 to $6,000 for a standard living room, so going DIY saves roughly $1,600 to $5,600.
It’s well worth attempting if you’re comfortable with basic carpentry, and it offers one of the best design-return-to-cost ratios around.
The One Thing Worth Paying a Professional For
If the LED dimmer needs a new dedicated circuit, hire a licensed electrician for that step only. Doing everything else yourself saves the most money while keeping the electrical safe and up to code.
Where to Find Backlit Ceiling Products
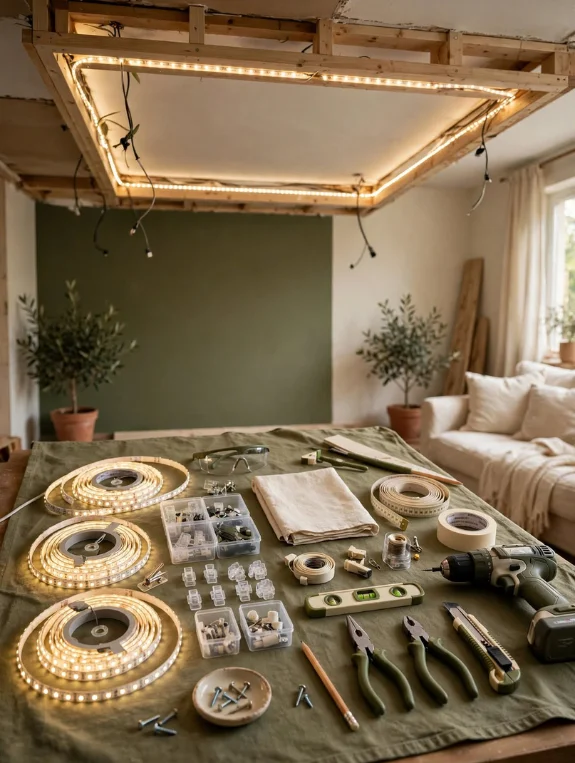
Best Sources for LED Strips and Diffuser Channels
Amazon carries high density warm LED strips and aluminum channel profiles, WAC Lighting and USAI Lighting offer premium architectural cove systems, and Home Depot has MDF and timber for the cove construction.
Best Sources for Smart Dimmers and Controls
Lutron makes premium smart dimmer systems, Amazon has affordable Govee and Kasa smart dimmer options, and Home Depot stocks standard in-wall dimmer switches.
Conclusion
The floating backlit ceiling is just a cove, a high density LED strip, a diffuser channel, and warm white matte paint, and that’s all it is. Once you understand the system, the breathtaking result makes complete sense: a hidden channel pointing warm diffused light upward, a warm white matte ceiling glowing back, and a perimeter that appears to float, all achievable for under $400 on a weekend.
Start with one wall, the bed wall or the sofa wall, and experience the effect before committing to the full perimeter. It’s the simple test that proves the concept, and you can extend it to the whole room with confidence.