Attic Wall Shelf Mounting Mistakes That Lead to Collapses — and the Fixes That Keep Everything Safely in Place
Attic shelves collapse when you mount directly into thin drywall on slanted walls, use tiny anchors, and overload long floating shelves.
Drilling only into plaster, skipping studs, and hanging heavy items on the low-angle slope also causes failure. Always find studs, use heavy-duty toggle bolts, and mount brackets on the vertical knee wall.
Proper mounting spreads weight and anchors into solid structure so shelves stay safe and level on slanted walls. Shorter shelves, French cleats, and L-brackets rated for shear keep everything secure in narrow attics. These fixes keep your attic organized, safe, and looking custom instead of risky.
Slanted Attic Walls Are the Trickiest Shelf Mounting Surface in Any Home
A Shelf That Holds Securely on a Flat Wall May Fail Completely on a Slanted Attic Surface
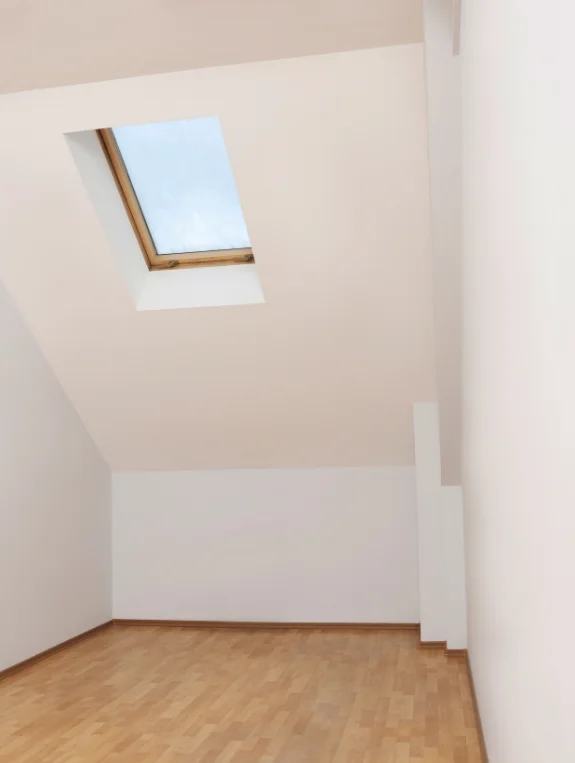
The physics genuinely change on a slanted wall. The weight of shelf contents doesn’t pull straight down from the bracket, it pulls at the angle of the slope, adding an outward force that flat-wall brackets were never designed to handle. A mounting that felt perfectly secure on day one can fail months later without warning.
Every Attic Shelf Collapse Is Predictable and Preventable When the Right Approach Is Used
Understanding why shelves fail on slanted surfaces is really the foundation of installing ones that never do. This post covers every common mistake and the reliable fix for each one.
The Mounting Mistakes That Cause Collapses
The Complete Attic Shelf Mounting Mistake List
- Fixing into drywall only, with no stud contact behind it
- Using flat-wall L-brackets on a slanted surface without angle adjustment
- Not locating the rafter or stud behind the slanted drywall before fixing
- Using too few fixing points for the shelf length
- Installing a shelf parallel to the floor on a wall that isn’t actually vertical
- Not checking whether the slanted wall has any structural backing at all
- Using screws too short to reach the structural timber
- Adding weight gradually without ever rechecking the fixings
The Most Common Cause of Attic Shelf Collapse
Out of everything on this list, fixing into drywall without locating and hitting the structural rafter or stud behind it causes the most failures by far. A drywall anchor in a slanted surface holds roughly 10kg under ideal conditions, while a 60mm screw into solid rafter can hold 80kg or more. Missing the rafter really is the single biggest cause of attic shelf failure.
Finding the Structural Timber Behind the Slanted Drywall
Why Stud Finders Behave Differently on Slanted Walls
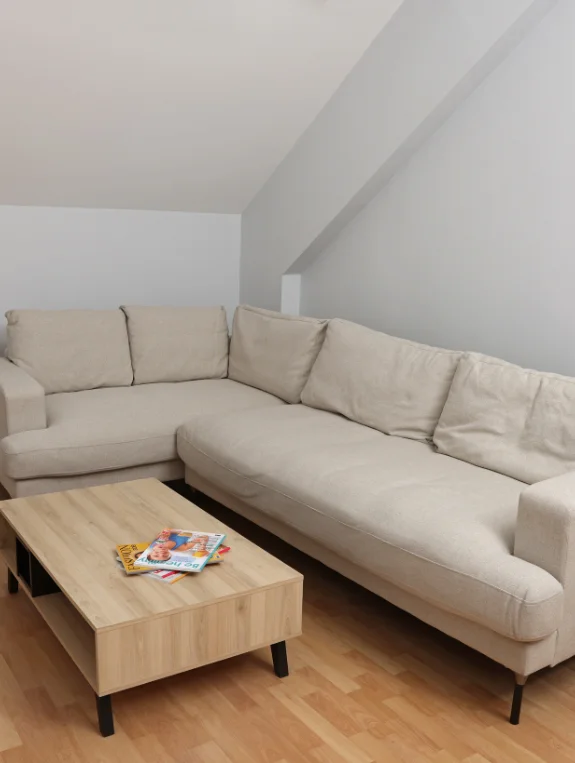
Most stud finders are calibrated for vertical walls, and on a slanted surface, the sensor angle changes enough that readings can become inconsistent. Using the knock test alongside the stud finder helps confirm what’s actually there, a solid sound means structural timber, a hollow sound means nothing but drywall.
The Rafter Spacing That Applies in Each Country
Rafter centres typically run 16 or 24 inches in the USA and Canada, 400 or 600mm in the UK, and 450 or 600mm in Australia. Knowing the standard spacing means once one rafter is found, the next one can be predicted and easily confirmed.
The Long Screw Test That Confirms Structural Contact
Driving a 70mm test screw at the suspected rafter position tells you everything you need to know: firm resistance before it’s fully sunk means it’s hit timber, while sinking freely all the way to the head means it’s only in drywall. It’s worth doing this test before committing to any bracket installation.
The Bracket Mistakes That Cause Failure on Slanted Walls
Why Standard L-Brackets Are Wrong for Slanted Surfaces
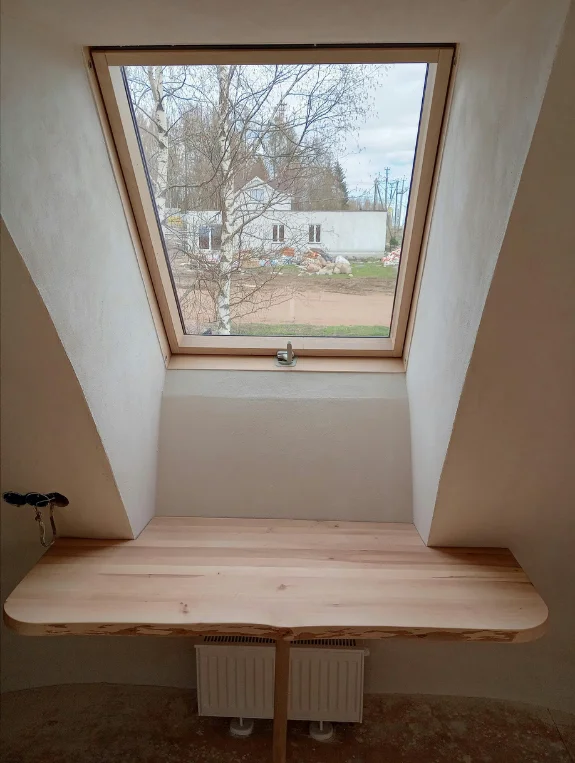
A standard 90-degree L-bracket is designed for a vertical wall, and on a slanted surface, the bracket arm doesn’t point downward correctly. The shelf ends up sitting at an angle, or the bracket applies torque at the fixing point, exactly the kind of force distribution that causes drywall failure over time.
The Adjustable Angle Bracket That Solves the Slant Problem
An adjustable angle bracket, with a pivot point that lets the shelf arm stay perfectly horizontal while the wall-fixing section adjusts to match any wall angle, is really the bracket type built specifically for the problem slanted attic walls create.
The Through-Bolt Method for Heavy Shelves on Slanted Walls
A long bolt passing completely through the slanted wall, clamped between two timber plates, one inside against the rafter and one on the wall surface, distributes load across a much larger area and simply can’t pull through drywall the way a screw can.
The Fixing Count and Spacing That Prevents Middle Sag
The Bracket Spacing Rule for Different Shelf Lengths
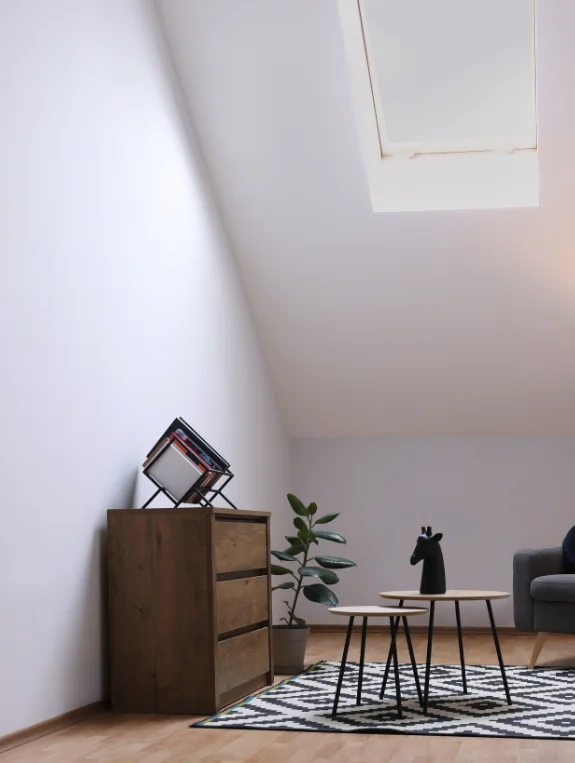
Shelves under 60cm need only one bracket at each end. Shelves 60 to 100cm need one bracket at each end plus one in the middle. Shelves over 100cm need brackets every 40 to 50cm. This spacing prevents visible sag under load regardless of what material the shelf is made from.
The Shelf Material That Resists Sag Without Extra Brackets
Solid timber at least 40mm thick resists sagging even across 100cm spans under normal loads, while thinner shelves or MDF need more support points to achieve the same result.
The Weight Limit That Should Never Be Exceeded on Attic Slanted Shelves
A drywall-only bracket should never carry more than 10kg, while a bracket hitting solid rafter can safely hold up to 40kg. This weight guide should inform every loading decision, heavy books and large plant pots really need to sit only on rafter-fixed brackets.
The Safe Shelf Installation Process From Start to Finish
Step 1 — Map the Rafters Before Touching a Bracket
Using a stud finder, the knock test, and a test screw together to confirm rafter positions along the full intended shelf run, then marking them clearly, is a mapping step that genuinely can’t be skipped.
Step 2 — Choose the Right Bracket for the Wall Angle
Measuring the wall angle, choosing adjustable brackets for anything that isn’t perfectly vertical, and confirming the bracket arm sits horizontal once the wall-fixing section is at the correct angle should all happen before a single hole gets drilled.
Step 3 — Fix Into Rafter and Check Before Loading
Fixing all the brackets, hanging the shelf with no weight on it at all, checking for movement at each bracket point, and then adding load gradually while checking again is the staged process that confirms an installation is genuinely holding before it gets fully loaded.
Rescuing a Shelf That Is Already Installed Incorrectly
How to Tell if a Shelf Is Mounted Safely or at Risk
Applying gentle upward pressure on the shelf edge is a quick, reliable test. A safe shelf won’t move at all, while a risky one rocks or the bracket screws visibly flex, telling you there’s a problem before it becomes an actual collapse.
The Quick Fix for a Shelf Hitting Drywall Only
Swapping in longer screws at the same fixing points can sometimes solve the problem outright, if the rafter is close enough, a 70 to 90mm screw might reach it from the exact same hole, converting a drywall fixing into a rafter fixing without any reinstallation at all.
When the Only Safe Answer Is to Reinstall
If the bracket position doesn’t align with any rafter and longer screws simply can’t reach one, reinstalling with the bracket moved to a confirmed rafter position is the only reliable answer, not the fastest fix, but the only safe one.
Where to Find Safe Attic Shelf Mounting Products
Best Sources for Brackets and Fixings
Amazon carries adjustable angle brackets and stud finders, Toolstation and Screwfix offer trade-quality fixings in the UK, Bunnings covers adjustable bracket ranges in Australia, and Home Depot and Lowe’s carry complete fixing hardware across the USA.
Best Sources for Installation Guidance
Family Handyman is a solid resource for the USA and Canada, the Wickes and Screwfix blogs cover UK guidance, and Bunnings project guides serve Australia.
Conclusion
Every attic shelf collapse really comes down to missing the rafter, find it first and nothing falls. Rafter mapping, adjustable brackets, correct spacing, and staged loading together produce attic wall shelves that hold everything they’re given safely for as long as the house stands.
Two minutes spent on a knock test and one test screw before every bracket goes in saves the hours of cleaning up a collapse and the cost of replacing everything that came down with it.