Diy Apartment Kitchen Aesthetic Upgrade Ideas for Renters
For a renter-friendly kitchen glow-up, focus on small changes you can remove later without damaging the space.
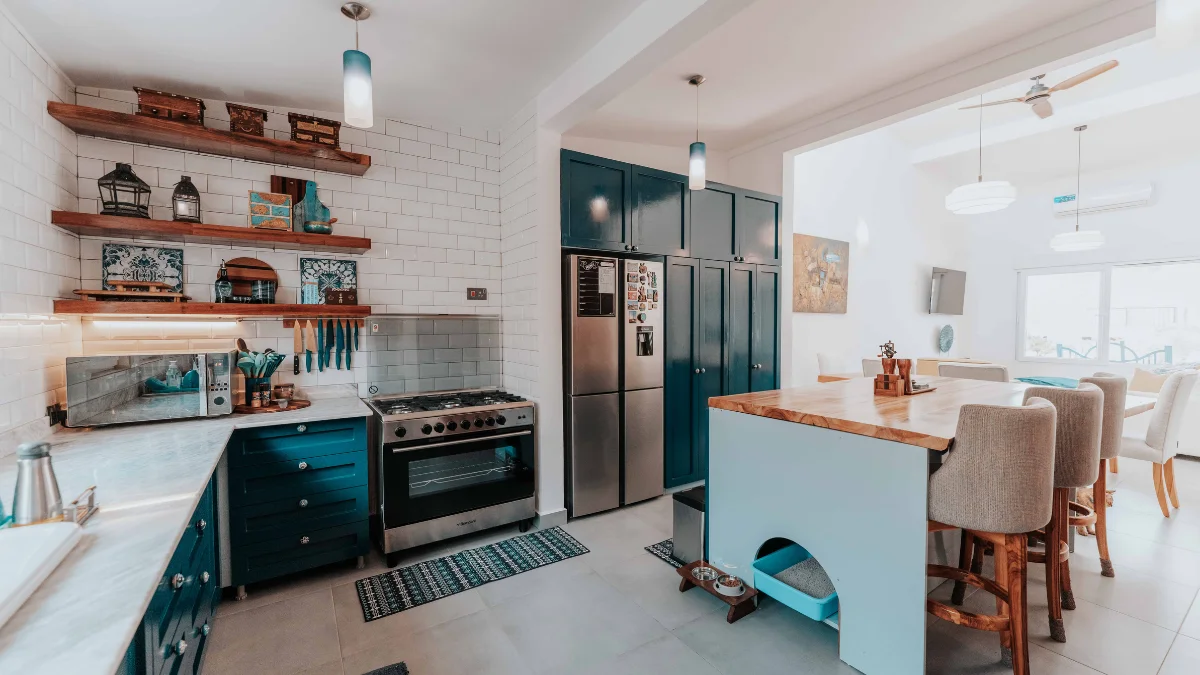
Try styling open shelves, swapping cabinet hardware if allowed, adding peel-and-stick accents, organizing countertops, and using warm lighting to change the overall feel.
You don’t need a renovation—or a big budget—to make a rental kitchen feel better. A few thoughtful DIY touches can add personality and warmth while keeping the original kitchen completely intact.
The Rental Kitchen That Is Quietly Making Your Apartment Feel Less Like Home
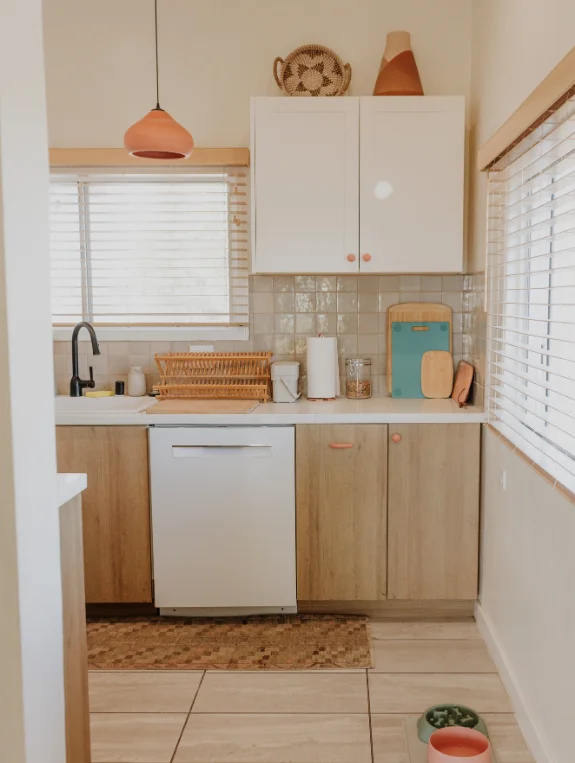
Most renters look at their dated kitchen and assume nothing can be done. The ugly backsplash stays. The flat white cabinets stay. The harsh overhead light stays.
None of that has to be true. Every single one of those problems has a temporary DIY solution that looks genuinely transformed — and removes completely when you leave.
Combine budget-friendly hacks with structured design principles by following these decor formulas for small apartment kitchens
Most Renters Accept Their Boring Kitchen Because They Think They Cannot Change It
Dated cabinet doors, ugly backsplash, bad lighting, dull countertops — these feel permanent because they look permanent.
They aren’t. Peel and stick tiles, contact paper, adhesive hardware, plug-in lighting — every surface in your rental kitchen can be transformed this weekend and reversed in an afternoon when it’s time to move out.
The DIY Renter Kitchen Revolution Has Created Solutions
Five years ago, the options available to renters were genuinely limited. Today they’re not.
Peel and stick everything, contact paper, removable wallpaper, adhesive tiles — the materials exist now that make rental kitchen transformations not just possible but genuinely impressive. Your kitchen glow-up is closer and cheaper than you think.
The DIY Renter Kitchen Upgrades That Deliver Maximum Impact
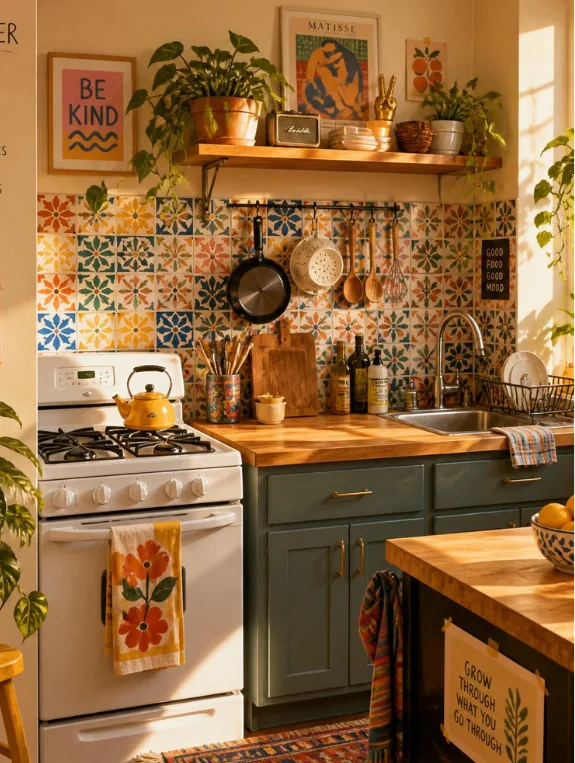
Here’s every upgrade that works — at a glance.
- Peel and stick backsplash tiles over existing tiles — dramatic transformation, zero damage, completely removable
- Warm wood contact paper on cabinet doors — flat white becomes warm wood in one afternoon
- Warm brass adhesive cabinet hardware — stick-on pulls for instant renovation feel
- Removable wallpaper on one kitchen wall — botanical, geometric, or marble statement wall
- Warm Edison pendant light on plug-in cord — replaces harsh overhead with beautiful warm pendant
- Open shelf on removable brackets — one styled shelf transforms the kitchen aesthetic
- Marble effect contact paper on countertops — ugly laminate becomes marble look overnight
- Warm LED strips under cabinets — instant under-cabinet lighting that reads as designed
- Fresh herb garden on the windowsill — living element that makes the kitchen feel intentional
- Coordinated canisters in one color family — visual cohesion that makes the kitchen look designed
The DIY That Delivers the Most Visual Impact for the Least Money
Peel and stick backsplash tiles over the existing backsplash.
One afternoon, under $60, and the before and after is genuinely shocking. It’s the single highest impact rental kitchen DIY available — and it removes cleanly in 30 minutes when you move out.
DIY Upgrade 1 — The Cabinet Transformation That Changes Everything
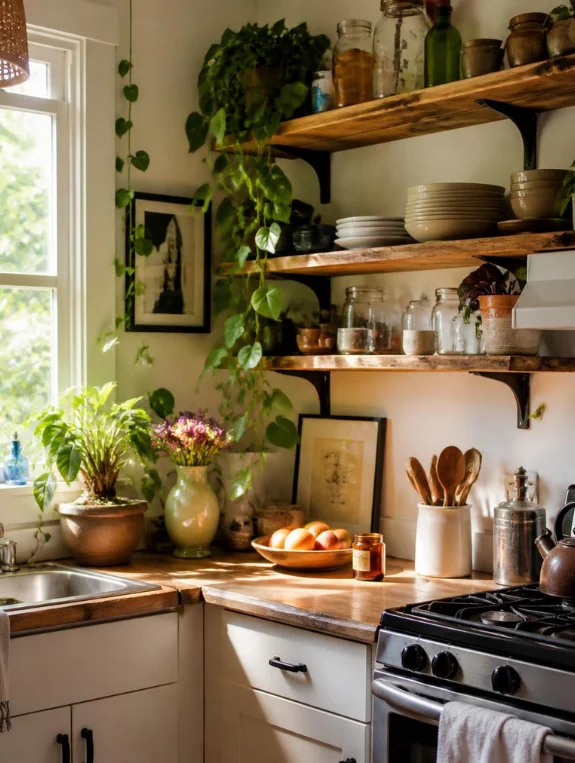
Warm Wood Contact Paper That Turns Flat White Cabinets Into Something Beautiful
Measure the cabinet doors, clean the surface, apply warm wood grain contact paper.
One afternoon. The most visually dominant surface in the kitchen transforms completely. Flat white cabinets that made the kitchen feel generic and cold suddenly have warmth, character, and a completely different personality.
The Adhesive Hardware Swap That Costs Under $50 and Looks Expensive
Adhesive brass or matte black pulls that stick directly onto existing cabinet doors — no drilling, no tools, no landlord permission needed.
Thirty minutes of application, $3 to $5 per pull, and the kitchen reads as recently renovated. This is the smallest change that makes the biggest impression on anyone walking in for the first time.
The Removal Process That Leaves Zero Evidence
Contact paper peels cleanly from smooth cabinet surfaces. Adhesive hardware releases with dental floss slid behind the pull and a little adhesive remover.
The entire cabinet transformation — the one that made the kitchen look completely different — disappears in 20 minutes. The original surface underneath stays untouched throughout.
Keep your hands-on kitchen upgrades looking intentionally styled by adopting warm minimalist kitchen decor ideas
DIY Upgrade 2 — The Backsplash That Shocks Everyone
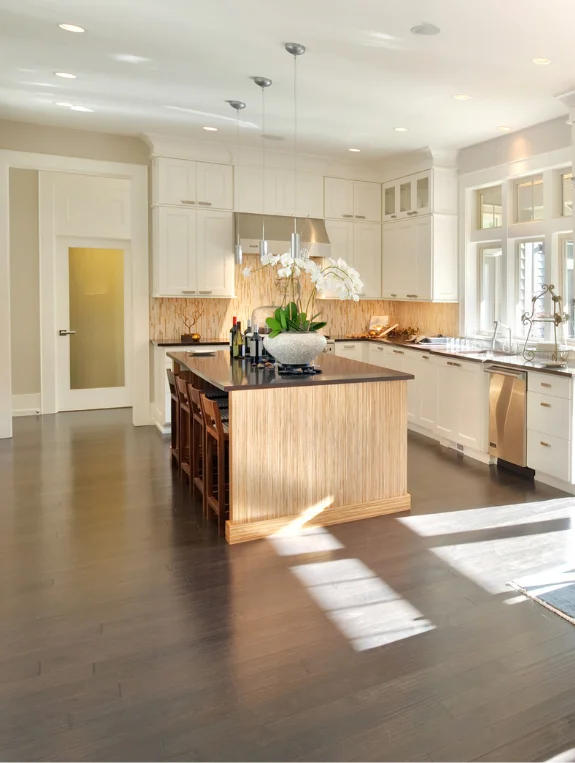
Peel and Stick Subway Tiles That Apply Over Existing Backsplash
Clean and dry the existing backsplash surface. Apply peel and stick subway tiles in white, cream, or sage green.
Two to three hours of application and the result looks like an actual tile installation. Not like a DIY. Not like a temporary solution. Like someone renovated the kitchen — because visually, that’s exactly what happened.
The Marble Pattern Peel and Stick That Creates a Luxury Kitchen Feeling
Marble effect peel and stick panels applied in sections create a backsplash that reads as genuine marble installation.
Under $60 for a full kitchen backsplash. Completely temporary. The luxury kitchen feeling that seemed completely out of reach in a rental is one afternoon away.
The Removal That Takes Less Time Than the Installation
Warm each tile with a hair dryer for 30 seconds, then peel slowly from the corner.
The adhesive releases cleanly every time. The entire backsplash removal takes 30 minutes and leaves the original surface completely untouched. Installation takes an afternoon. Removal takes less than an hour.
You can easily add high-end character to basic rental cabinets using stick-on gold handles and a sage green and gold kitchen apartment theme
DIY Upgrade 3 — The Lighting That Transforms the Entire Atmosphere
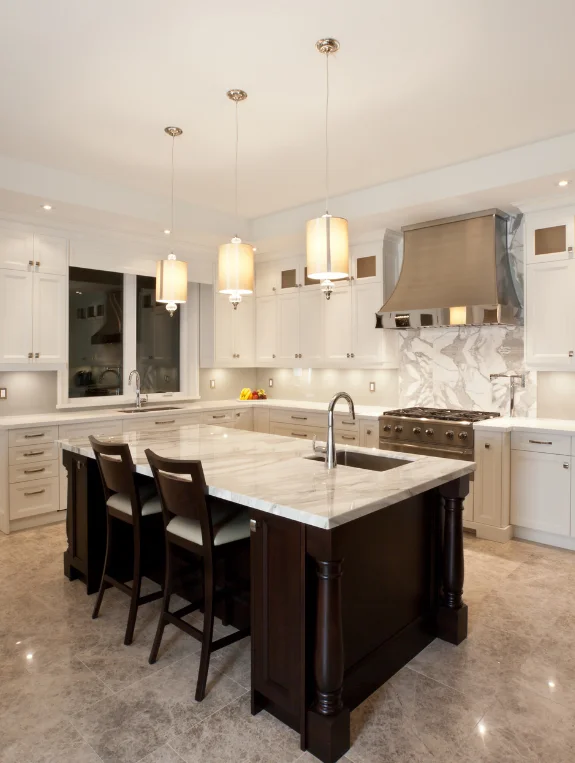
A Plug-In Pendant Light That Replaces Harsh Overhead Lighting
A beautiful pendant light on a long plug-in cord, hung from an adhesive ceiling hook, cord styled along the ceiling with adhesive clips, plugged into the wall outlet.
The kitchen goes from harsh overhead glare to warm pendant glow in one afternoon. The fixture that was ruining the entire atmosphere is effectively replaced — without touching a single wire or asking a single question of the landlord.
Warm LED Strip Lights Under Cabinets That Create Instant Luxury
Adhesive warm LED strips pressed under the upper cabinets, plugged in with a small adapter.
The under-cabinet glow transforms the entire counter workspace instantly. The kitchen reads as professionally lit and designed — because it is. The strips cost under $20 and the effect reads as a $500 renovation.
The Warm Bulb Swap That Makes Everything Look Better Immediately
Replace every existing kitchen bulb with warm 2700K equivalents. That’s it.
The harsh white kitchen becomes warm and inviting before anything else changes. The existing fixtures stay exactly where they are — but the atmosphere transforms completely the moment the new bulbs turn on.
DIY Upgrade 4 — The Counter and Wall Transformation
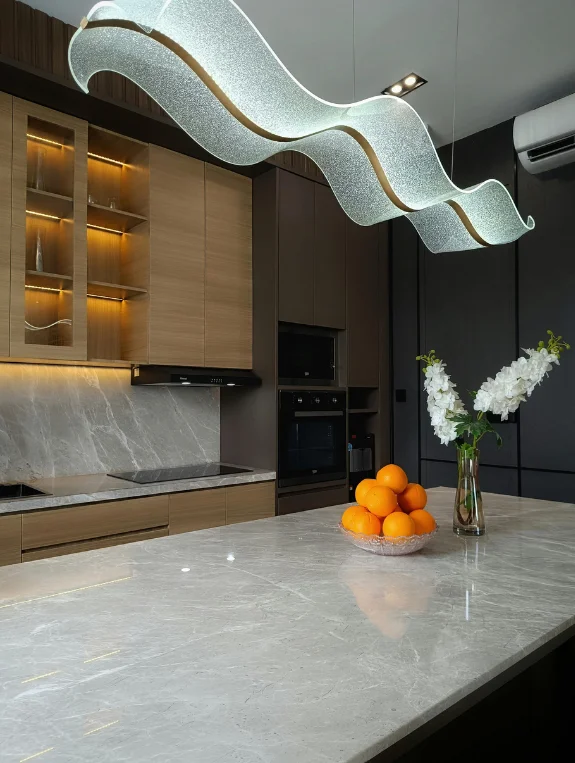
Marble Effect Contact Paper on Existing Countertops
Clean the counter completely, apply marble effect contact paper in sections, trim to fit the edges.
The ugly laminate counter becomes a marble look overnight. Under $30 for a full kitchen counter transformation that guests genuinely mistake for real stone. The most dramatic surface upgrade available for the least amount of money.
Removable Wallpaper on One Kitchen Wall as a Statement
One wall in a botanical, geometric, or subtle pattern — this accent wall gives the kitchen a personality that standard white walls simply cannot have.
It applies in an afternoon and removes completely when you leave. One wall, one afternoon, one decision that changes how the entire kitchen feels every single day you live there.
The Open Shelf Addition That Creates Aesthetic Display Space
A floating shelf on removable brackets, styled with a small plant, matching canisters, a cookbook, and two or three beautiful objects.
This shelf becomes the aesthetic moment the kitchen was always missing. It gives the eye somewhere to land and makes the kitchen feel considered and intentional rather than just functional.
DIY Upgrade 5 — The Styling That Ties Everything Together
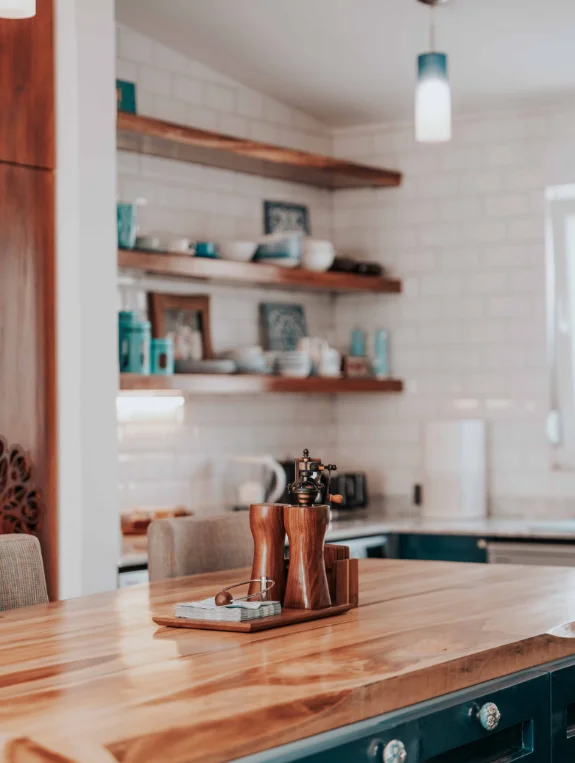
Coordinated Countertop Objects in One Color Family
All canisters in cream or sage green. All dish towels in matching neutral. One coordinated color family across every object on the counter.
This visual cohesion costs nothing if you already own the items — it just requires editing and intentional placement. The kitchen goes from looking accumulated to looking designed with one reorganization session.
A Fresh Herb Garden on the Windowsill That Makes the Kitchen Feel Alive
Three small herb plants in matching terracotta pots — basil, mint, rosemary — on the kitchen windowsill.
Living things signal a kitchen that is genuinely used and genuinely loved. No styled kitchen ever looks completely finished without something growing in it. And herbs cost under $5 each at any grocery store.
The Removal Day Strategy That Ensures Zero Deposit Loss
Photograph every surface before starting any DIY. Store all original hardware in labeled bags. Test removal on a small hidden section before full application.
Every DIY in this post is fully reversible when done correctly. The photograph proves the original condition. The labeled bags ensure nothing gets lost. The test section confirms the removal works on your specific surfaces before committing.
The Complete DIY Renter Kitchen Upgrade for Under $150
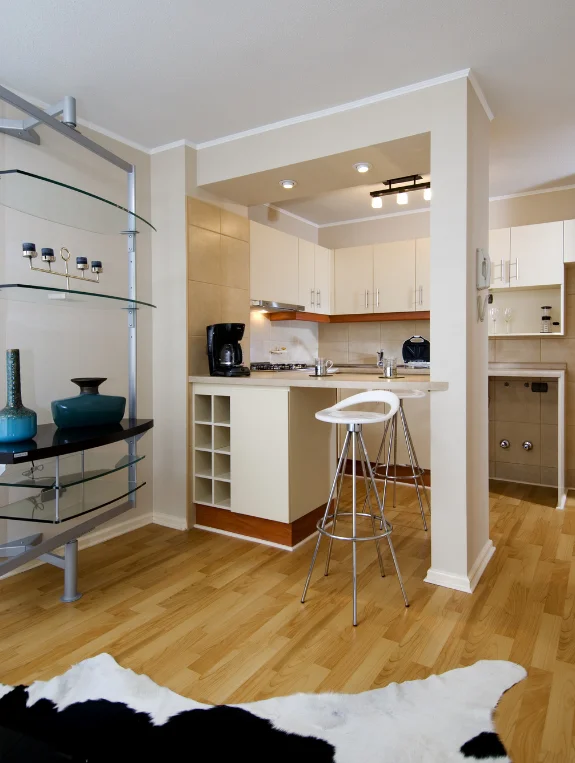
The $150 Kitchen Transformation Breakdown
Peel and stick backsplash — $40. Wood contact paper for cabinets — $20. Adhesive brass pulls — $30. Plug-in pendant light — $35. Warm LED strips — $15. Warm bulbs — $10.
Total — $150. A kitchen transformation that shocks every visitor and leaves zero permanent evidence behind.
The Free Styling Upgrades That Complete the Transformation
Reorganize counter objects into one color family. Add plants from your existing collection. Clear every surface down to three items maximum.
The free styling layer makes the $150 investment look like $1,500. The DIY upgrades create the foundation. The styling makes it look intentional and designed rather than renovated.
The Order That Makes the DIY Process Most Efficient
Backsplash first. Cabinet contact paper second. Hardware third. Lighting fourth. Styling last.
Each layer builds on the previous one. The kitchen improves visibly with every step — and by the time the styling goes in, the transformation is complete and genuinely impressive.
Where to Find DIY Renter Kitchen Upgrade Materials
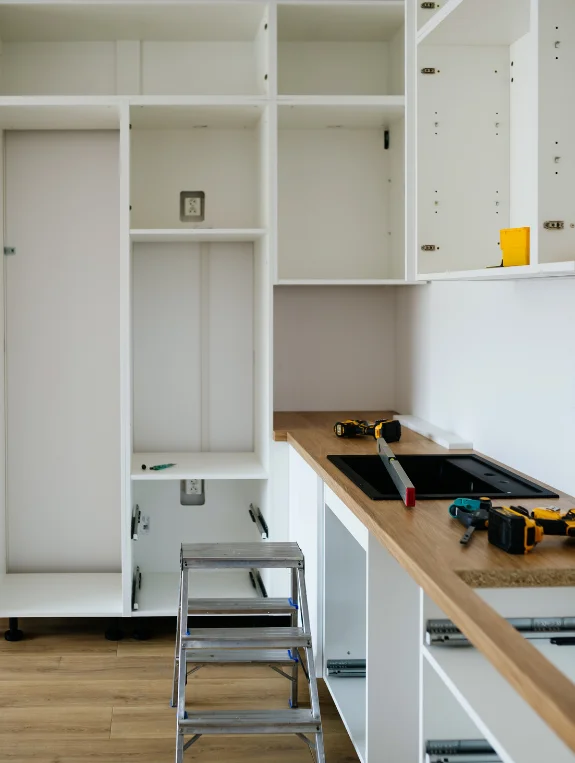
Best Sources for Peel and Stick and Contact Paper
Amazon for the widest selection of peel and stick tiles and contact paper at every price point.
Chasing Paper for premium removable wallpaper that applies beautifully and removes cleanly. Target for affordable peel and stick backsplash options that deliver strong visual impact without a large investment.
Best Sources for Lighting and Hardware Upgrades
Amazon for plug-in pendant lights, LED strips, and adhesive hardware — everything for upgrades three and four in one place.
West Elm for quality pendant lights worth investing in when you want the lighting to feel genuinely elevated. IKEA for affordable shelf and bracket systems that install cleanly and remove without damage.
DIY organizers and hanging rails work best when paired with effective spatial habits from our apartment kitchen decluttering guide
Conclusion
Your rental kitchen can look like a completely different kitchen by this weekend — without touching a single permanent surface.
Peel and stick backsplash, contact paper cabinets, adhesive hardware, warm lighting, styled counters. Five DIY upgrades that transform every visual surface in the kitchen and remove completely and cleanly when it’s time to move on.
Start with the backsplash this weekend. That single afternoon project creates a new backdrop that makes everything else in the kitchen look better — immediately and dramatically. The rest of the upgrades build on that foundation one layer at a time.