Outdated Textured Ceiling Design Mistakes Keeping Your Home Looking Old and Dusty
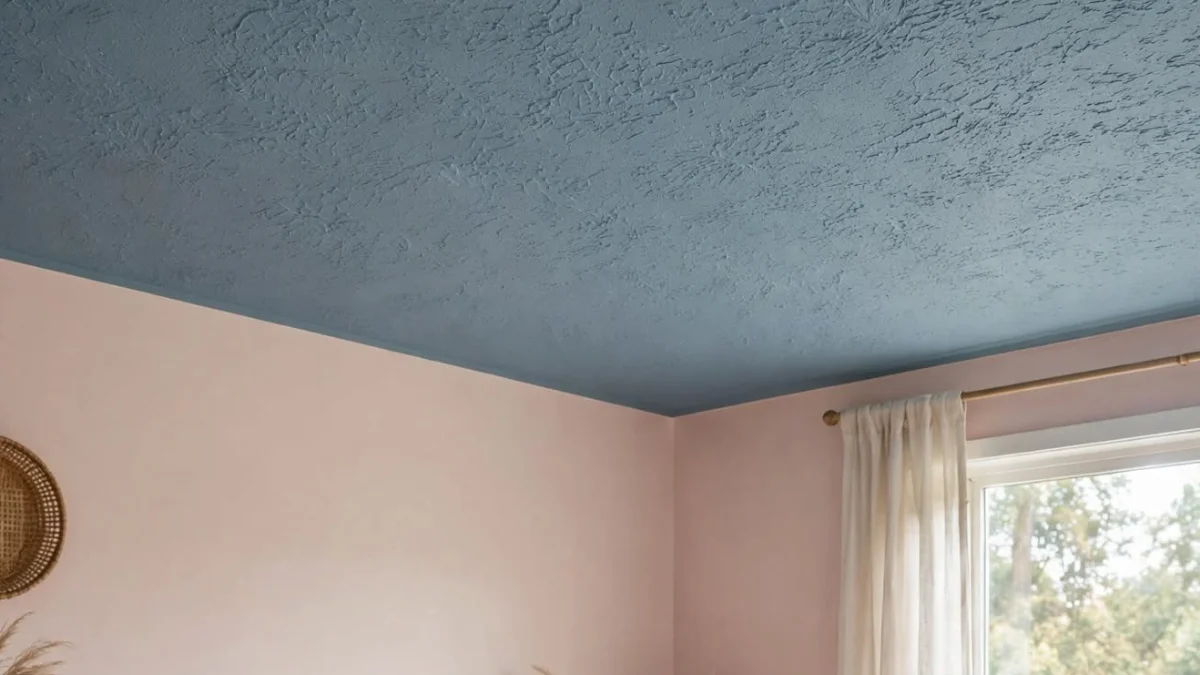
Outdated textured ceilings make your home look old and dusty when you keep heavy popcorn, orange peel, or swirl textures with yellowed paint.
Dark, glossy finishes and zero lighting updates trap dust and make ceilings feel lower and dingy. Leaving cracked, stained, or uneven textures also makes rooms feel neglected.
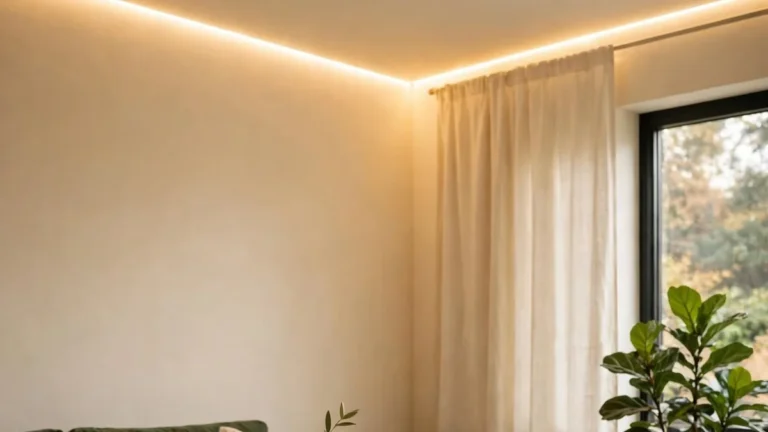
Heavy textures scatter shadows and trap dust so ceilings look dark, dirty, and dated instantly. Smoothing to a light matte finish with warm layered lighting makes rooms feel fresh, taller, and expensive. It instantly updates your home to a clean, modern, Pinterest-worthy look.
The Ceiling Texture That Is Making Your Entire Home Look 30 Years Older Than It Actually Is
Every Renovation You Make Gets Undermined by One Overlooked Surface Above You
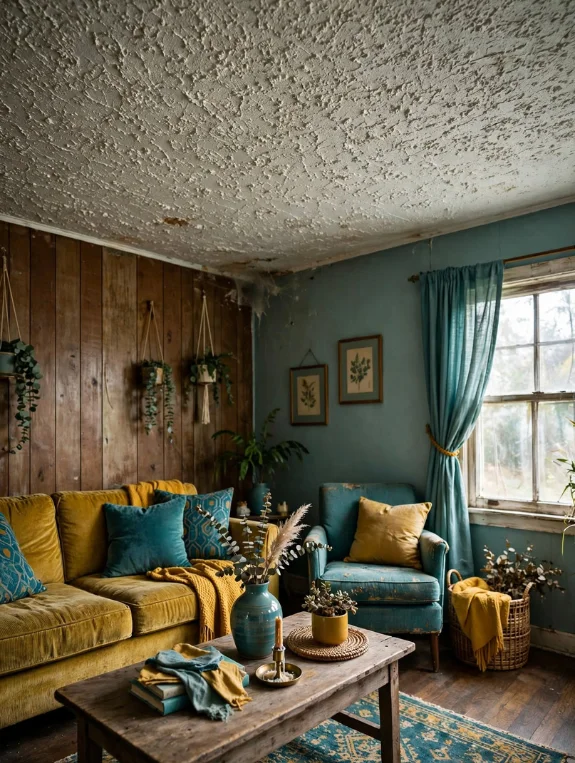
New floors, new paint, new furniture, and then you look up. The popcorn ceiling or heavy orange-peel texture is still there, quietly making every improvement below it feel incomplete. It was applied in an afternoon decades ago, and it has been working against your home ever since.
The Good News: Fixing or Covering an Outdated Textured Ceiling Is More Achievable Than Almost Anyone Realizes
You don’t always have to scrape it, and you don’t always need a professional. Some of the best solutions go right over the existing surface instead of removing it. This post covers every realistic option, from the $30 fix to full removal.
The Textures That Date a Home Most Severely
The Ceiling Textures Ranked From Most to Least Outdated
- Popcorn or acoustic spray: the most dated of all, common from the 1950s through the 1990s, and it reads as old in any room
- Heavy swirl: large swirling patterns that strongly suggest the 1980s and 1990s
- Heavy skip trowel: thick, irregular patches that look especially dated when painted any color other than white
- Heavy knockdown: the light version is acceptable, but the deep-shadow version reads as dated
- Heavy orange peel: the light version looks mildly contemporary, while the bumpy version reads as 1990s suburban construction
- Slap brush or crow’s feet: starburst patterns that look significantly dated
- Comb texture: ridge lines that look dated regardless of the paint color on top
Why These Textures Make the Whole Room Feel Old, Not Just the Ceiling
Outdated textures trap dust in their crevices, show cobwebs clearly, and exaggerate every shadow from your lighting. They also read as a specific past era that clashes with every contemporary choice below them. That’s why a brand-new renovation can still look unfinished.
The Scrape and Skim Option: Full Removal Done Right
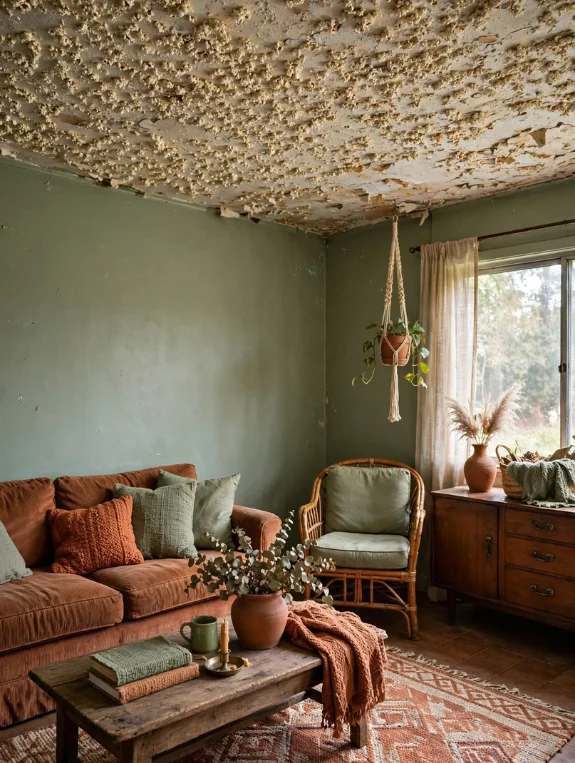
When Scraping Popcorn Ceiling Is the Right Choice
Scraping makes sense for popcorn ceilings applied after 1978, when asbestos was no longer used in the application. Even then, test first with a commercial asbestos test kit before any scraping, and wet the surface thoroughly before you start. It produces a smooth drywall surface ready for any finish, and it’s the most rewarding but also most labor-intensive approach.
The Skim Coat That Turns a Rough Ceiling Into a Smooth One Without Scraping
A skim coat is a thin layer of joint compound applied over the existing texture. The texture gets buried instead of removed, so the ceiling turns smooth without the mess or the asbestos disruption risk of scraping.
What to Realistically Expect During and After This Process
A skim coat usually takes two to three passes of joint compound, with sanding between coats and primer before paint. Plan on a weekend per room. The result looks like new construction, which makes it the most complete fix for severe texture.
The Cover-It Approach: Over the Texture, Not Through It

Peel and Stick Ceiling Panels That Go Directly Over Existing Texture
Foam coffered panels, wood plank panels, and tin ceiling tiles can be applied right over the textured surface with construction adhesive. The texture becomes irrelevant because it’s now underneath a clean new surface. There’s no scraping, no dust, and no asbestos risk, and the whole ceiling can change in one day.
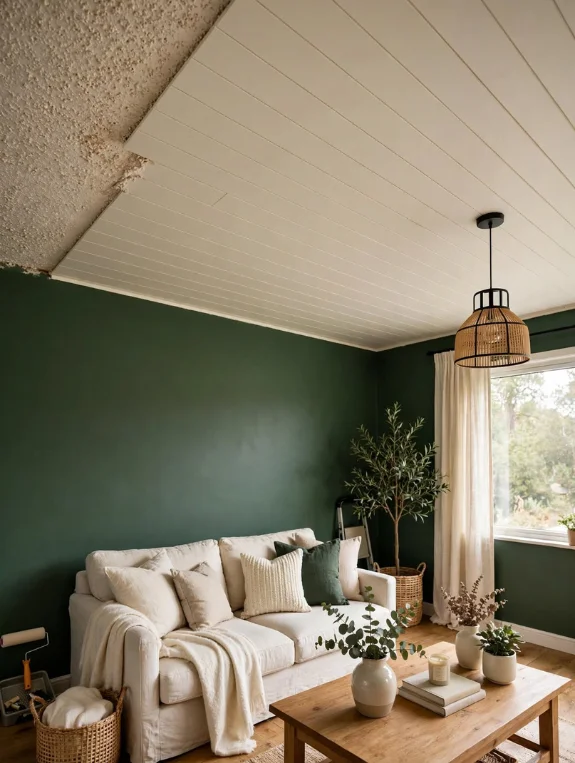
Tongue and Groove Planks Installed Over Popcorn Ceiling
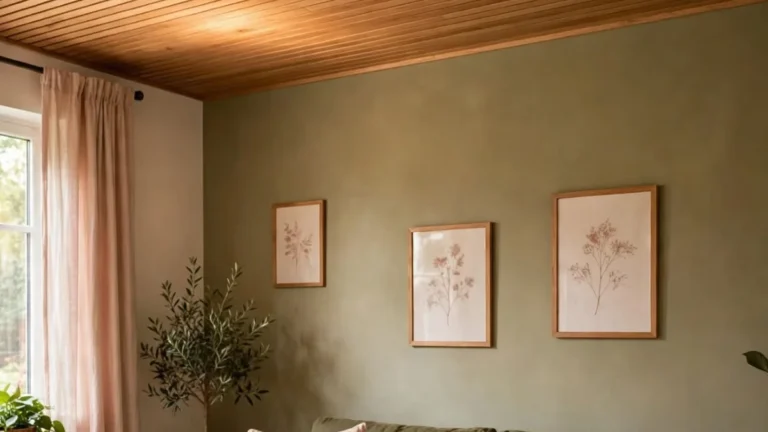
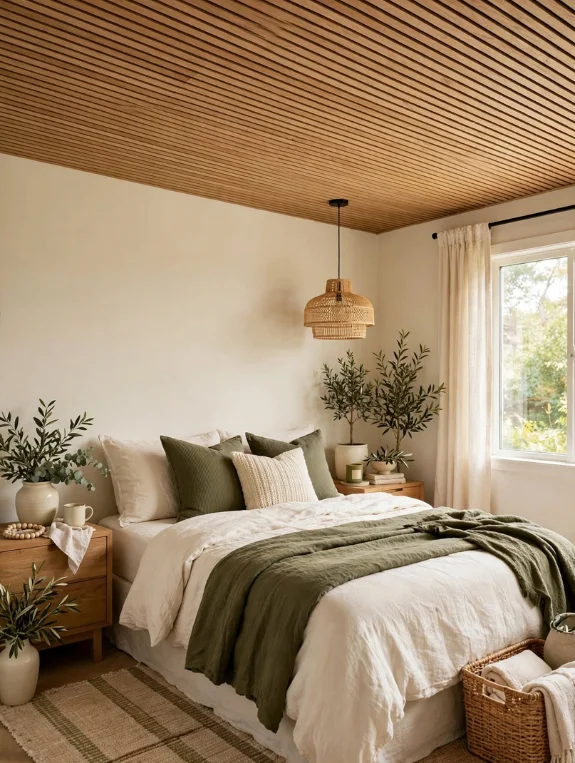
Screw a grid of furring strips into the ceiling joists through the texture, then nail tongue and groove boards or shiplap panels to the strips. The new ceiling sits 1 to 2 inches lower and replaces every square foot of dated texture with warm wood. It’s a great kitchen or living room solution that adds warmth and character at once.
The Suspended Tile System for the Fastest Texture Cover
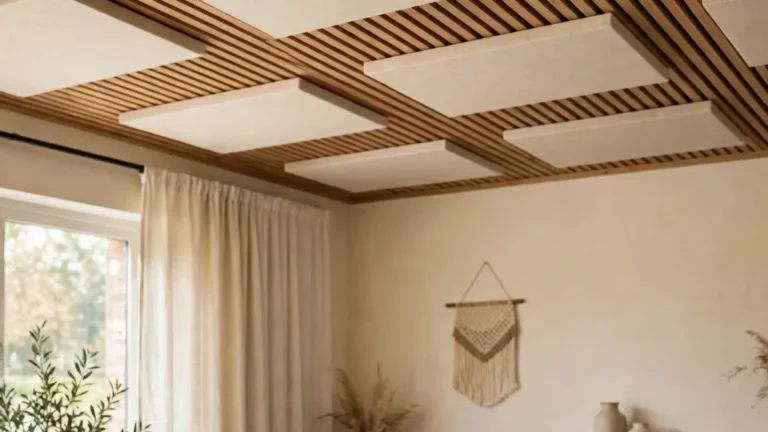
A suspended grid installed below the textured ceiling, with clean acoustic tiles or decorative panels dropped in, hides both the texture and any utilities above. It suits basements, utility rooms, and any space where losing a little ceiling height is fine.
The Retexture Approach: Replacing Old Texture With Modern Texture
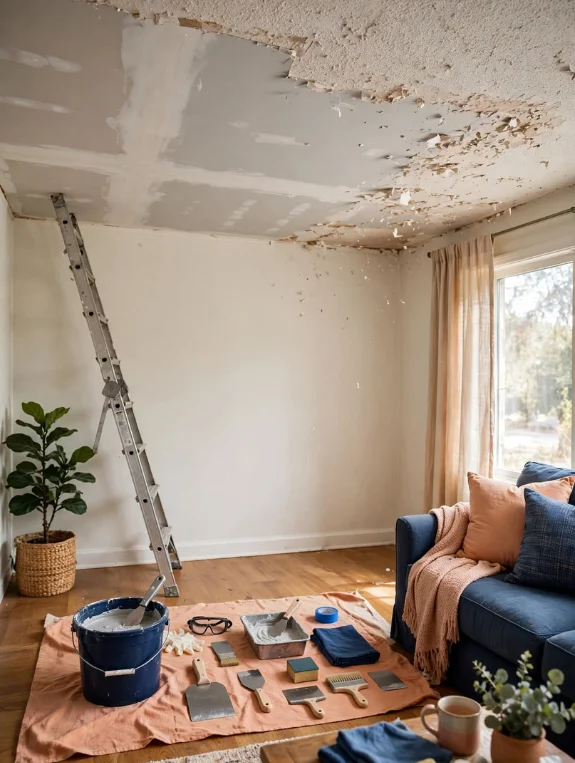
The Modern Texture Finishes That Actually Read as Contemporary
A fine sand finish adds subtle texture without any pattern, and a smooth skim with minimal orange peel or the lightest possible knockdown works too. These add some acoustic benefit and hide minor drywall flaws while reading as modern instead of dated.
The Lime Plaster Finish That Reads as Intentional Luxury
A thin lime plaster application over a smooth or skimmed ceiling gives the chalky, textured finish seen in contemporary Mediterranean and modern European interiors. It reads as deliberately chosen rather than contractor-applied, and it offers the highest design return of the retexture options.
Why Any New Texture Must Be Lighter Than the Old One
Heavy texture always reads as dated, no matter how recently it was applied. Current ceiling finishes trend toward less texture, never more, so any retexture should leave a surface with noticeably less shadow and depth than the one it replaced.
The Paint Fix That Makes Textured Ceilings Look Much Better Without Any Surface Work
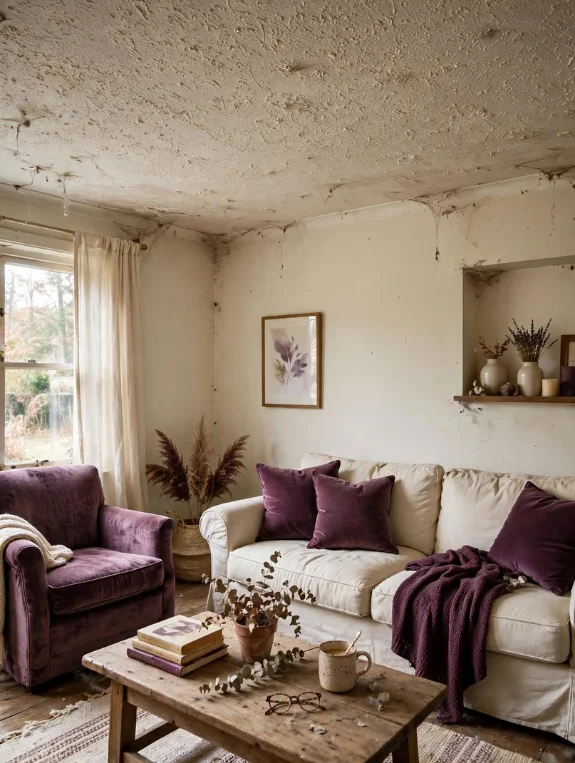
How the Wrong Paint Color Makes Old Texture Look Worse
Bright white on a heavily textured ceiling creates maximum shadow in every crevice. Each bump and ridge casts a shadow that emphasizes the pattern, so the white you chose to look clean actually amplifies the dated look.
The Warm Tinted Ceiling Paint That Reduces the Appearance of Heavy Texture
A very warm, slightly tinted paint, like a pale cream with a yellow undertone, softens the shadows that give texture its visual weight. A ceiling that looked heavy and patterned in bright white reads as warmer and subtler in a creamy tone. It isn’t a cure, but it’s a real improvement for under $30.
The Flat Matte Finish That Reduces Shadow in Heavy Texture
Ultra-flat matte ceiling paint absorbs light instead of reflecting it, so shadows in the crevices become less visible. It’s a finish upgrade that makes any texture look less pronounced without touching the surface.
Specific Room Strategies for Outdated Textured Ceilings
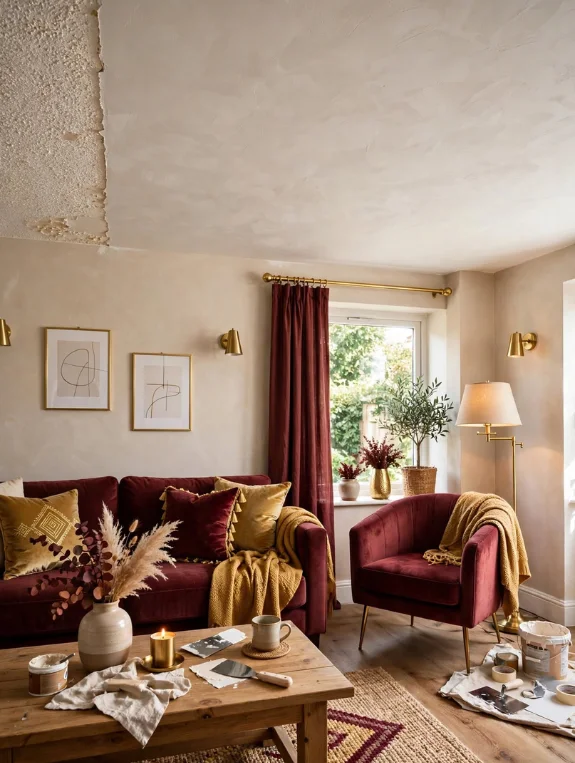
Living Room: The Cover Plan That Adds Warmth While Hiding Texture
Tongue and groove boards over furring strips in a warm wood tone take a living room from a dated textured ceiling to a designer wood ceiling in one weekend. It adds value and beauty instead of just neutralizing a negative.
Bedroom: The Skim Coat That Produces the Most Beautiful Result
A bedroom is a good place to learn, since the smaller size makes it lower stakes. Two skim coat passes, then warm white paint, give you a smooth ceiling that makes the room feel newer and cleaner right away.
Kitchen and Bathroom: The Tile or Panel Option That Suits Wet Areas
Waterproof panel systems or washable tile-look panels suit rooms where moisture is a factor. The kitchen gets a new ceiling above the cooking zone with no scraping risk.
The Budget and Time Guide for Each Approach
Under $100: Paint and Finish Upgrade Only
New flat matte paint in a warm tinted ceiling color won’t solve the problem, but it makes it much less prominent. It’s a good starting point while you save for a fuller fix.
Under $300: Cover With Panels or Boards
Foam coffered panels or a tongue and groove plank system remove the textured surface from view permanently. This approach delivers the most dramatic result per dollar.
Under $600: Full Skim Coat and Smooth Finish
A DIY skim coat over two weekends gives you a professional-quality smooth ceiling that makes the room look newly built. It takes the most effort, and the result lasts the longest.
Conclusion
An outdated textured ceiling has one job right now, making your home look older than it is, and there’s a fix at every budget. Warm tinted flat matte paint gives an immediate improvement, tongue and groove is the most design-forward cover, and a skim coat is the most permanent smooth solution.
Pick the one that fits your budget and your tolerance for weekend projects. To start, test a warm tinted ceiling paint in one room this weekend. One ceiling, one can, one afternoon will show you how much further you want to go.