Attic Renovation Transformations That Show What Is Possible When Every Decision Is Made Well
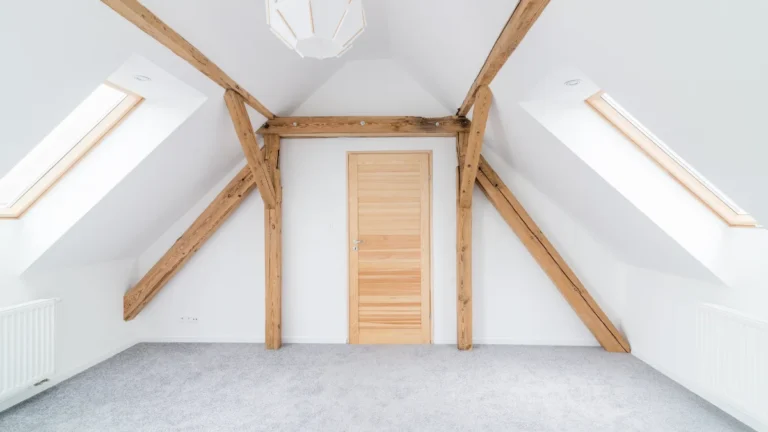
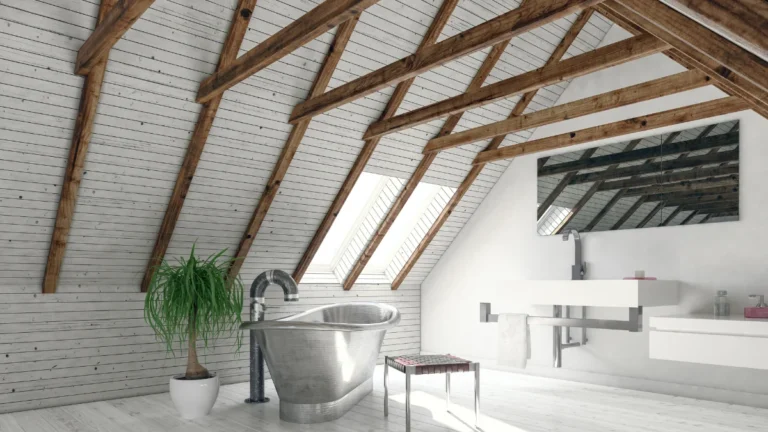
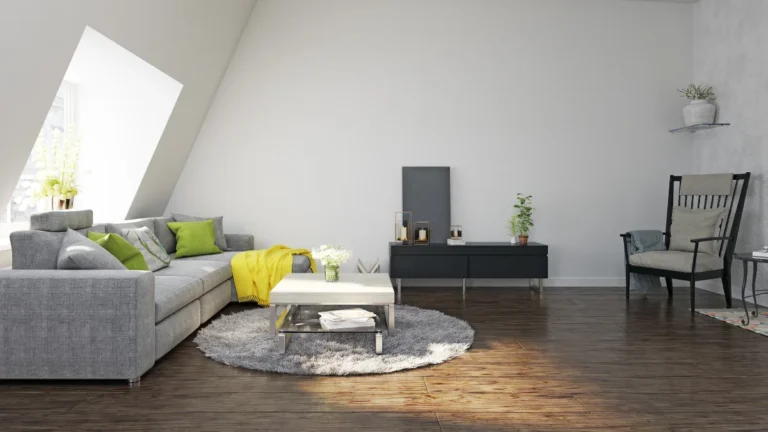
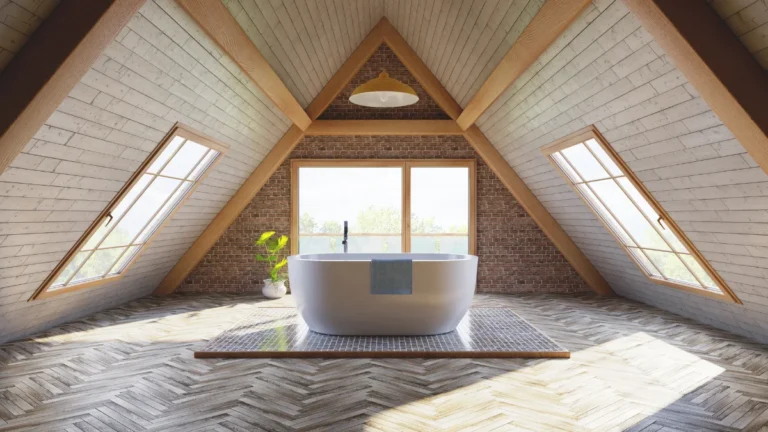
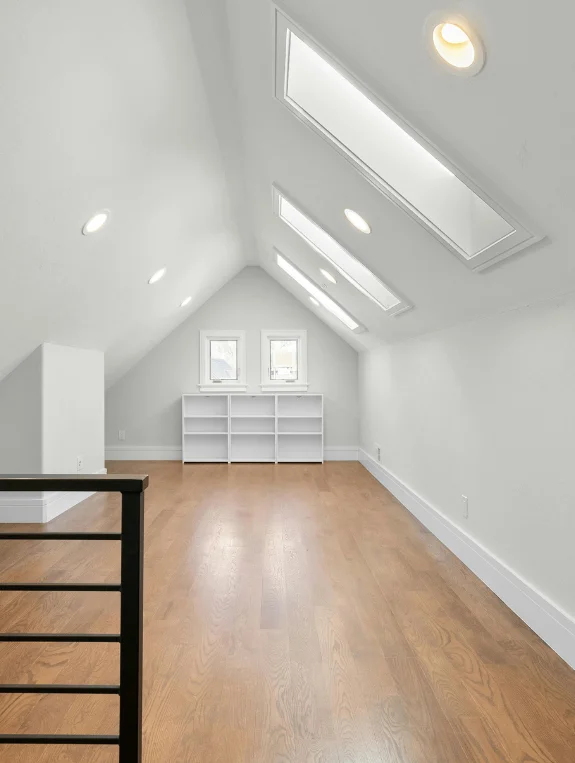
The best attic renovations work because every decision is intentional from paint to storage to lighting. They use one light continuous palette, low-profile built-ins under the eaves, and layered warm lighting to make slanted walls feel tall.
No wasted corners, no bulky furniture, just custom storage and clean lines everywhere.
When paint, furniture, storage, and light all work together, your attic stops feeling like an attic and feels like a real luxury room. Intentional choices make low awkward angles feel airy, functional, and expensive instead of cramped. That’s what turns a dusty attic into the most beautiful transformation in your home.
Before and After Attic Transformations Are the Most Inspiring Home Renovation
The Same Square Footage Before and After Looks Like Two Completely Different Rooms
A dark storage attic and a light-filled bedroom suite can occupy exactly the same square footage, yet look like two entirely different rooms.
The transformation lives entirely in the decisions made during the renovation, and understanding which decisions create the most dramatic before-and-after is really the value this whole post delivers.
The Most Breathtaking Attic Transformations Share Five Common Elements
Natural light addition, structural headroom resolution, built-in storage, a warm cohesive palette, and quality materials show up in every genuinely breathtaking attic before-and-after, no matter the country or the specific aesthetic direction chosen.
The Five Decisions That Create Breathtaking Before-After Transformations
The Five Transformation Decisions
- Adding a skylight or Velux window, the single most dramatic before-after change available
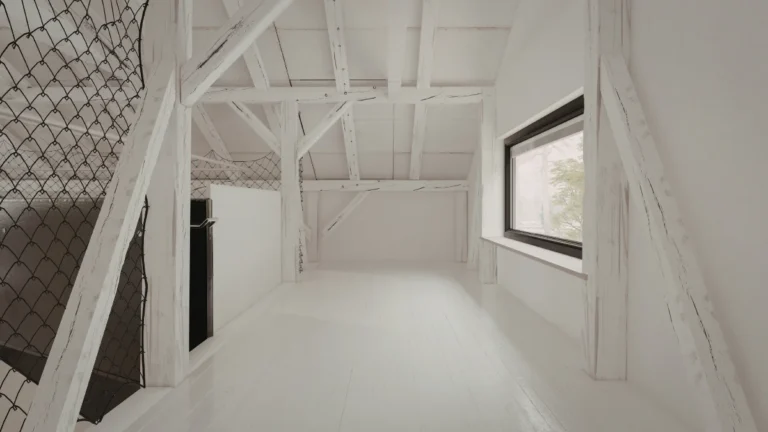
- White-painting all surfaces, including the beams, for the dark cave to bright room shift
- Installing built-in knee wall storage, taking a cluttered before to a clean minimalist after
- Adding a proper staircase in place of a loft ladder, moving from inconvenient to fully habitable
- Creating an en-suite bathroom, turning a bonus room into a genuine master suite
The Decision That Creates the Most Dramatic Visual Transformation
Out of everything on this list, adding a skylight or Velux roof window creates the most dramatic contrast by far.
The before photo shows a dark, enclosed space, and the after shows a room genuinely flooded with sky light. No other single decision changes the visual story of a before-and-after this powerfully.
Transformation Type 1 — Dark Storage to Light-Filled Bedroom
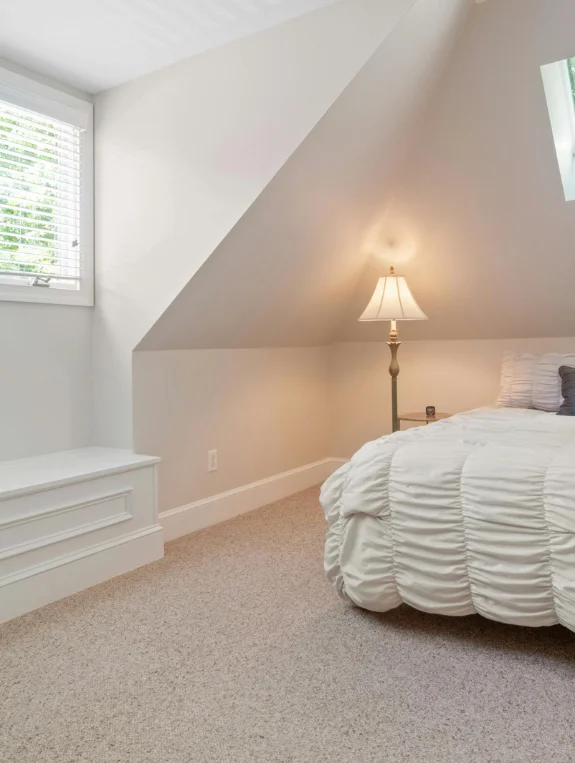
What the Before Looks Like in This Transformation
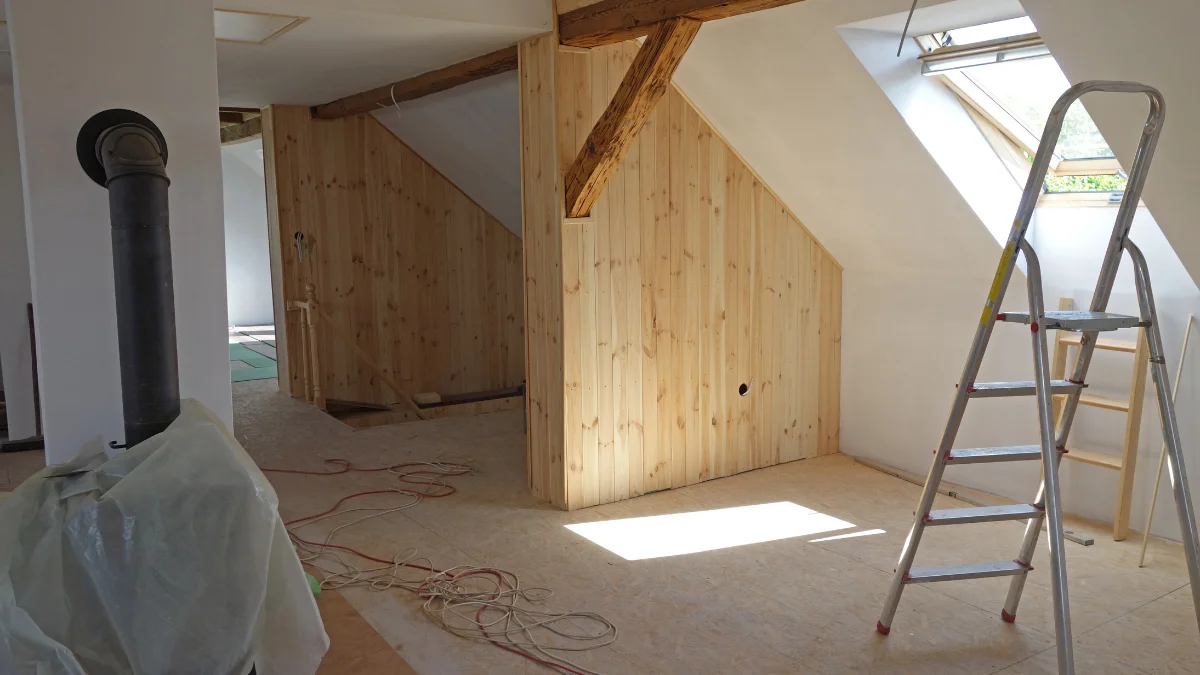
Bare floor joists, exposed insulation between the rafters, one small gable window, no electrical, and access only by loft ladder describe the typical unused attic before, dark, claustrophobic, and seemingly unusable for anything.
The Key Decisions That Create the After
A Velux window in the south-facing slope, warm white throughout including the beams, a platform bed positioned directly under the skylight, warm amber lighting for evenings, and built-in knee wall storage on both sides are the five decisions that carry the whole transformation.
The Realistic Cost of This Transformation in Each Country
In the USA, this typically runs $15,000 to $25,000 for a basic bedroom conversion. In the UK, a Velux conversion usually costs £20,000 to £35,000. In Canada, expect $20,000 to $35,000 CAD depending on the province. It’s an investment that typically returns 75 to 90 percent in added property value.
Transformation Type 2 — Cluttered Attic to Minimalist Master Suite
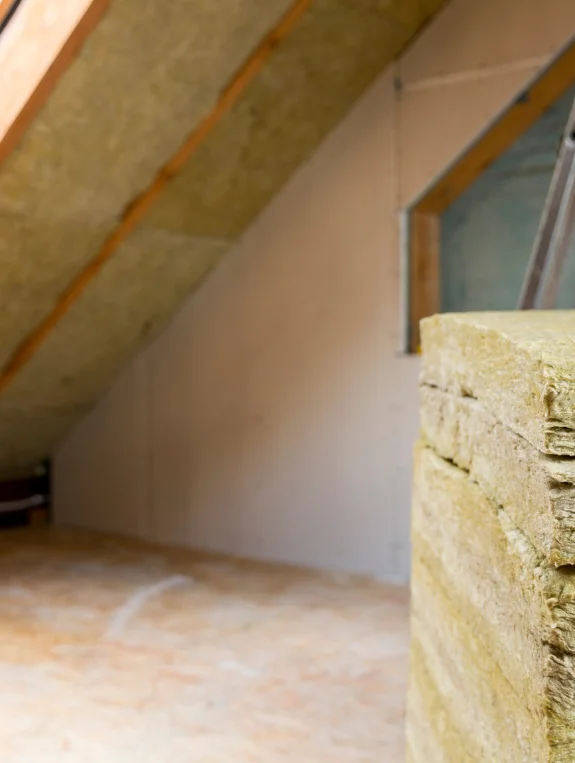
What the Before Looks Like in This Transformation
Water tanks sitting in the corner, insulation falling between the joists, old boxes and luggage scattered across the floor, and a single bare bulb overhead describe an attic being used as a dumping ground rather than a room.
The Built-In Decisions That Create the Minimalist After
Relocating the water tanks, adding flush knee wall wardrobes on both sides, fitting an en-suite bathroom into the eave section, installing a Velux window above the bed, and painting everything warm white together create the minimalist look, largely by eliminating every visible piece of storage from the room entirely.
The En-Suite That Makes This Transformation a Master Suite
A compact bathroom tucked into the knee wall section, with a shower, WC, and basin, fits neatly within the lowest ceiling area. This one feature is really what takes the transformation from bedroom to full suite, and it dramatically increases the property value added along with it.
Transformation Type 3 — Low Dark Box to Family Studio
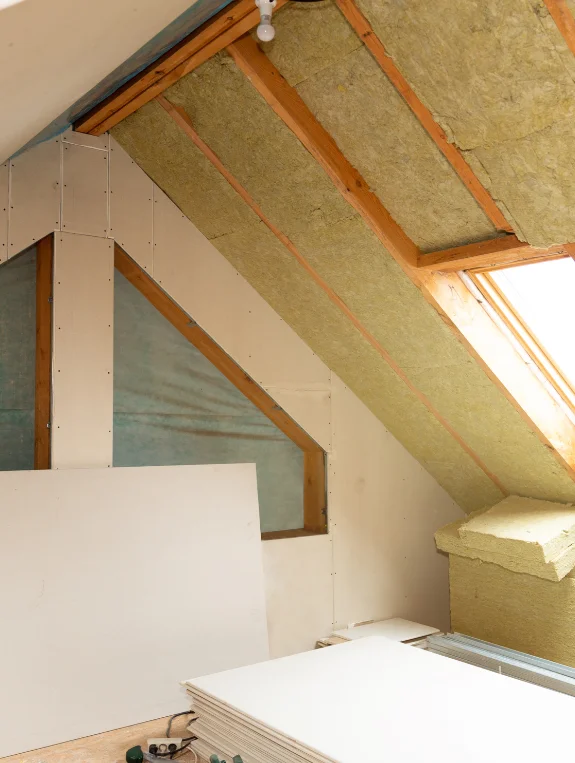
What the Before Looks Like in This Transformation
A low ceiling throughout, no natural light, bare walls, and just a loft hatch with no proper staircase describe the kind of attic most families walk past every day without ever considering its potential.
The Dormer Addition That Changes Everything
A rear dormer addition adds roughly 50 percent more headroom across half the floor area, structurally transforming a crawl space into a genuine family studio. It’s arguably the most dramatic single visual change available in any dormer conversion.
The Family Studio After That Serves the Whole Household
A children’s art wall on the gable, an adult desk at the peak under the Velux, a play area in the dormer section, and knee wall storage for toys and supplies together create an after that everyone in the family genuinely wants to spend time in.
Transformation Type 4 — Bare Attic to Cozy Reading Retreat
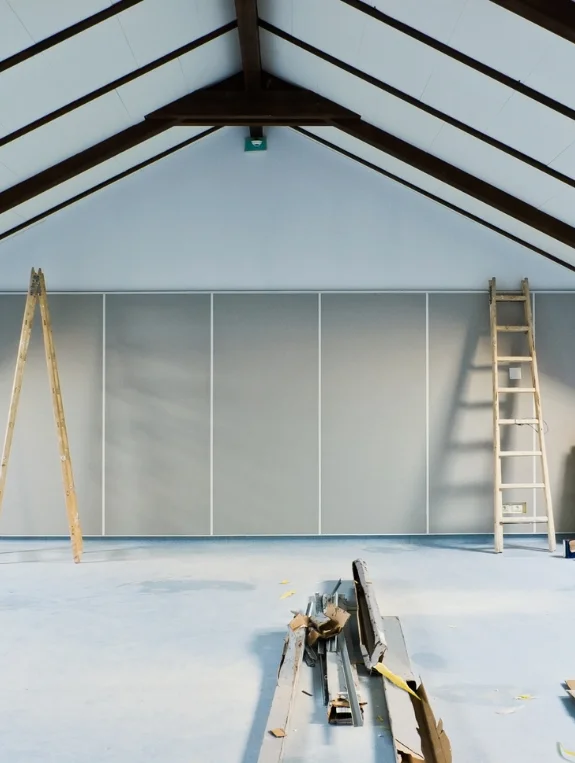
What the Before Looks Like in This Transformation
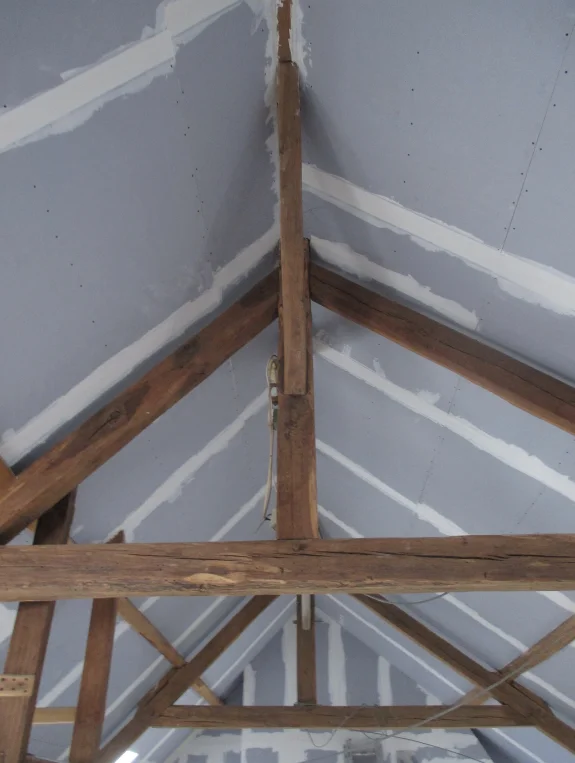
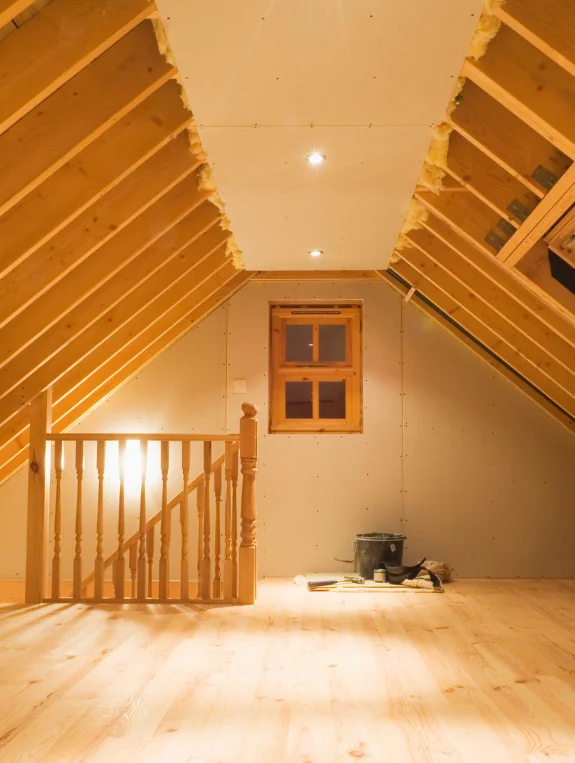
Chipboard flooring left over from an early, incomplete conversion, one Velux already installed but surrounded by bare plasterboard, no lighting, and no storage describe the half-finished before that many homeowners quietly live with for years.
The Finishing Decisions That Complete the After
Warm white paint over the bare plasterboard, LED fairy lights along the beams, a built-in window seat under the Velux, bookshelves following the roofline on the gable wall, and a warm linen armchair in the reading zone together reveal the half-finished attic as the most beautiful room in the house.
The Low Budget That Made This Transformation Possible
Since the structural work was already done, only finishes were needed, running about $3,000 to $8,000 USD or £2,000 to £6,000 for paint, lighting, furniture, and built-in shelving. It’s a transformation that shows exactly what a modest budget can achieve once the structural decisions are already resolved.
Transformation Type 5 — Awkward Angles to Organic Modern Sanctuary
What the Before Looks Like in This Transformation
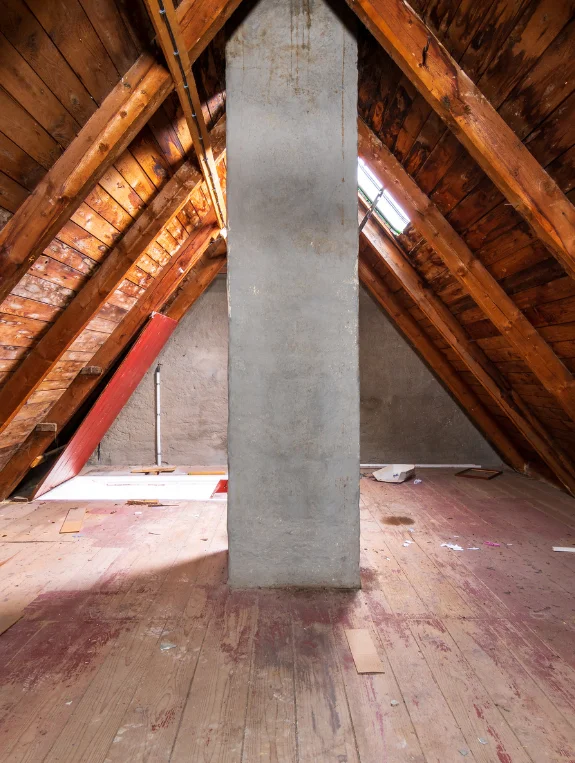
Unfinished angled walls, exposed timber framing, cold in winter and hot in summer, with no insulation visible, describe a triangular dark space that feels genuinely hostile rather than inhabitable.
The Organic Modern Decisions That Create the Sanctuary After
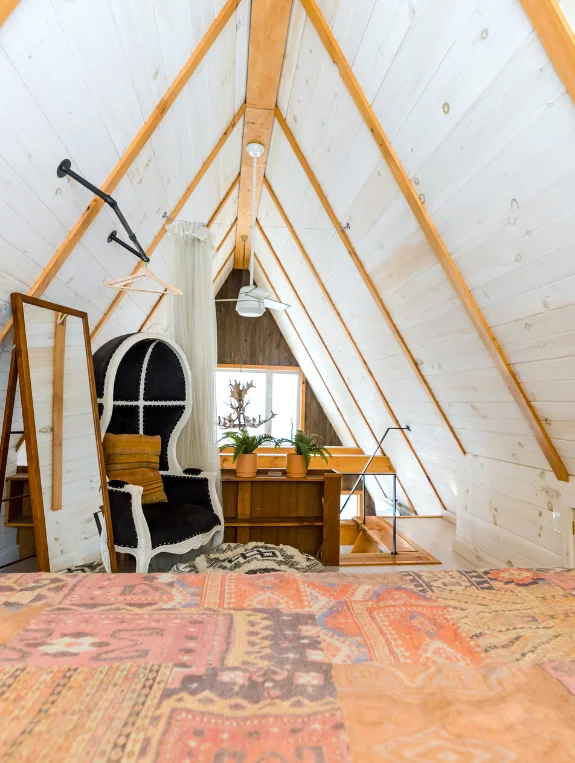
Warm white limewash on the angled walls, natural linen panels draped from the beam line, warm honey wood furniture positioned at the peak, trailing plants hung from beam hooks, and a Velux creating a column of natural light together turn the space into something that reads as completely different.
The Sustainability Choices That Make This Transformation Special
Natural insulation materials, zero-VOC limewash paint, reclaimed wood floating shelves, and natural fiber textiles make this organic modern transformation an environmentally conscious one too, something increasingly valued by buyers across the USA, UK, and Canada.
The Photography That Makes Attic Transformations Look Breathtaking
The Camera Position That Shows Maximum Before-After Contrast
Shooting from the staircase entry point, looking into the room at the widest possible angle, captures the full ceiling height, the natural light source, and the floor area all at once, showing off the most of the transformation in a single frame.
The Lighting Condition That Makes Attic Afters Look Most Beautiful
Shooting on a bright day, ideally between 10am and 2pm, with skylights fully utilized and warm lamps switched on at the same time, combines natural and warm artificial light in the way that makes attic room photographs genuinely breathtaking.
The Styling Detail That Elevates the After Photograph
Fresh flowers or a leafy plant in the natural light zone, perfectly pressed linen bedding, and one lit candle are the simple styling touches that take a completed renovation photo from documentation to genuine inspiration.
Where to Find Attic Renovation Before and After Inspiration
Best Sources for USA and Canadian Attic Transformations
Houzz is reliable for professional renovation before-afters, Apartment Therapy shows more accessible attic conversions, and This Old House offers solid structural attic renovation content, together giving a realistic picture of transformations along with cost information.
Best Sources for UK Attic Transformation Inspiration
Grand Designs is worth watching for dramatic UK loft conversions, Rightmove’s sold listings offer real loft conversion valuations, and Period Living covers character property conversions, all showing what’s genuinely achievable within UK planning and building regulations.
Conclusion
Every genuinely breathtaking attic before-and-after shares the same core decisions: a Velux window, white paint throughout, knee wall storage, warm lighting, and quality natural textiles. These five choices show up again and again regardless of country, budget, or aesthetic direction.
The most motivating step available today is simply photographing the attic exactly as it is right now, since that discouraging, unfinished before photo becomes the clearest possible roadmap for exactly how far the after can go.